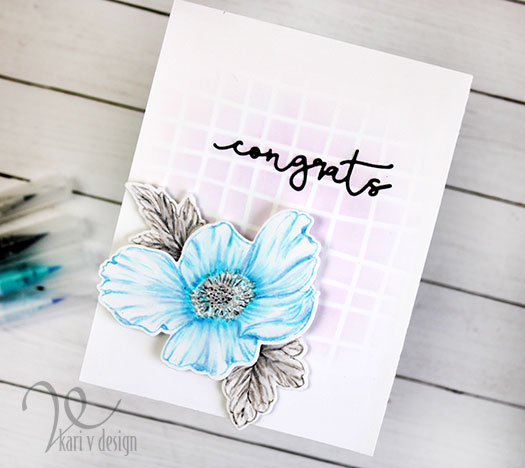
Hello! Today I’m participating in the Make the Card Challenge #10. It is a color challenge this time of purple, pink, teal, and lime!

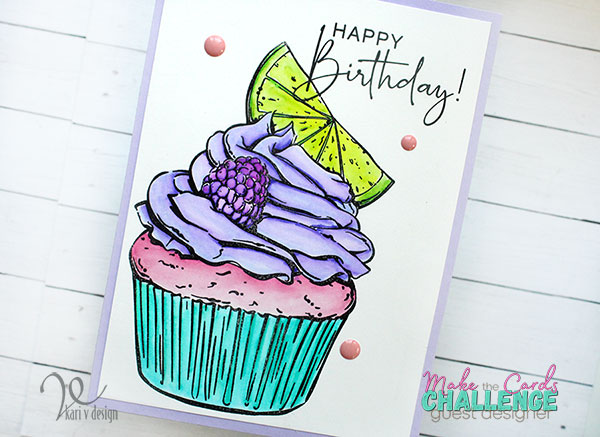
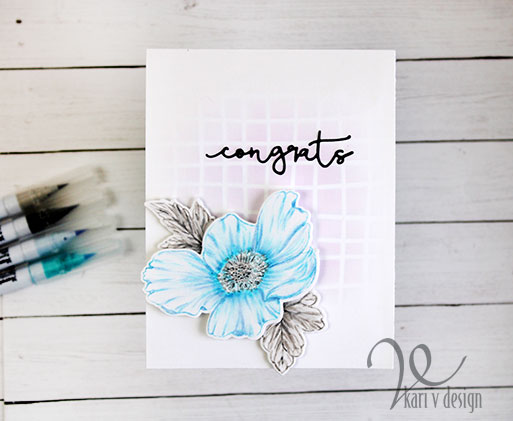
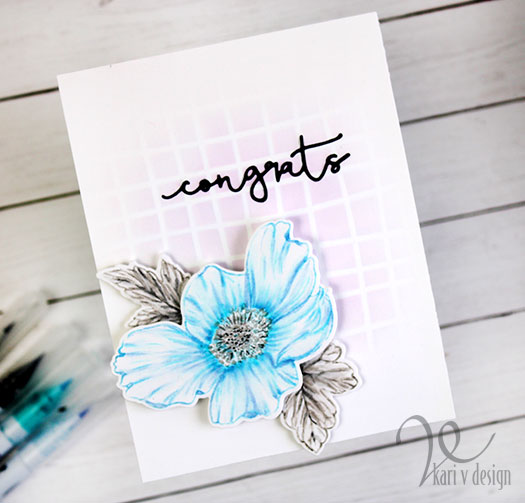
Now, you probably think that I would make an Easter card….and that’s what I thought I would do, too! But I am surprising us ALL with this beautiful cupcake card:
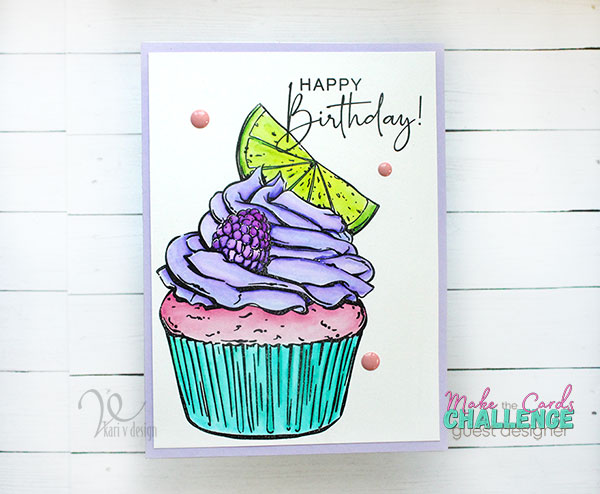
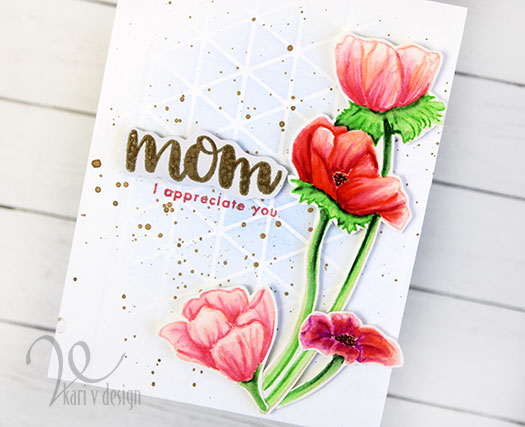
I made a strawberry cupcake (PINK), with a (TEAL) cupcake liner, added some (PURPLE) frosting with a blackberry, and a slice of lime (LIME)! What a bright and fun cupcake, right?
I’m imagining there is a lime filling also. YUM! This could be an Easter cupcake, really…with all those spring colors.
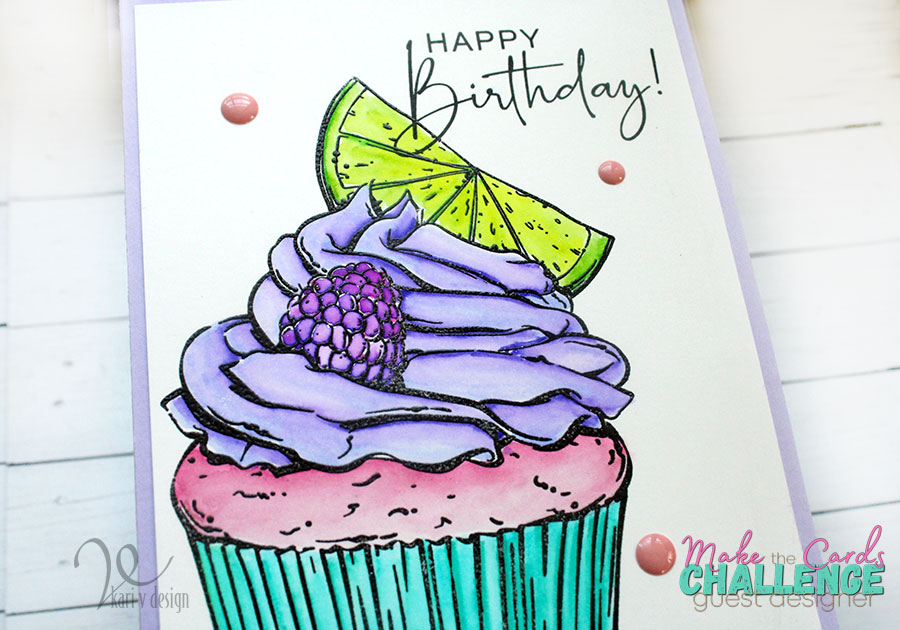
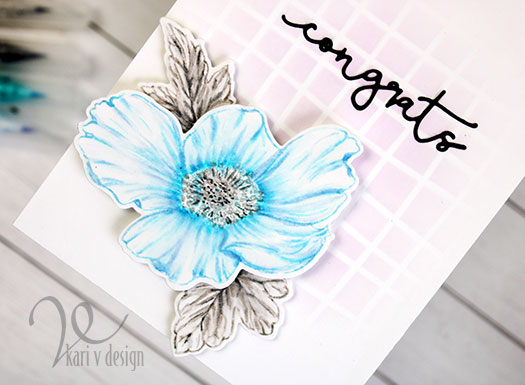
I stamped this beautiful cupcake onto Bristol Smooth cardstock so I could use my Zigs to color it. I love these markers, so easy to blend on this smooth cardstock. I used these colors and a waterbrush to blend them out:
Cupcake: 200 S.Almond Pink, 230 Pale Rose, 026 Light Pink, 027 Dark Pink
Liner: 036 Light Blue, 042 Turquoise Green
Frosting & Blackberry: 803 English Lavender, 080 Violet, 084 Deep Violet, 027 Dark Pink
Lime: 041 Light Green, 045 Pale Green, 047 May Green, 051 Lemon Yellow
To finish it off, I added some Lavender cardstock as the frame and some pink enamel dots!
If you’d like to see just how EASY this is to watercolor, check out my video here:
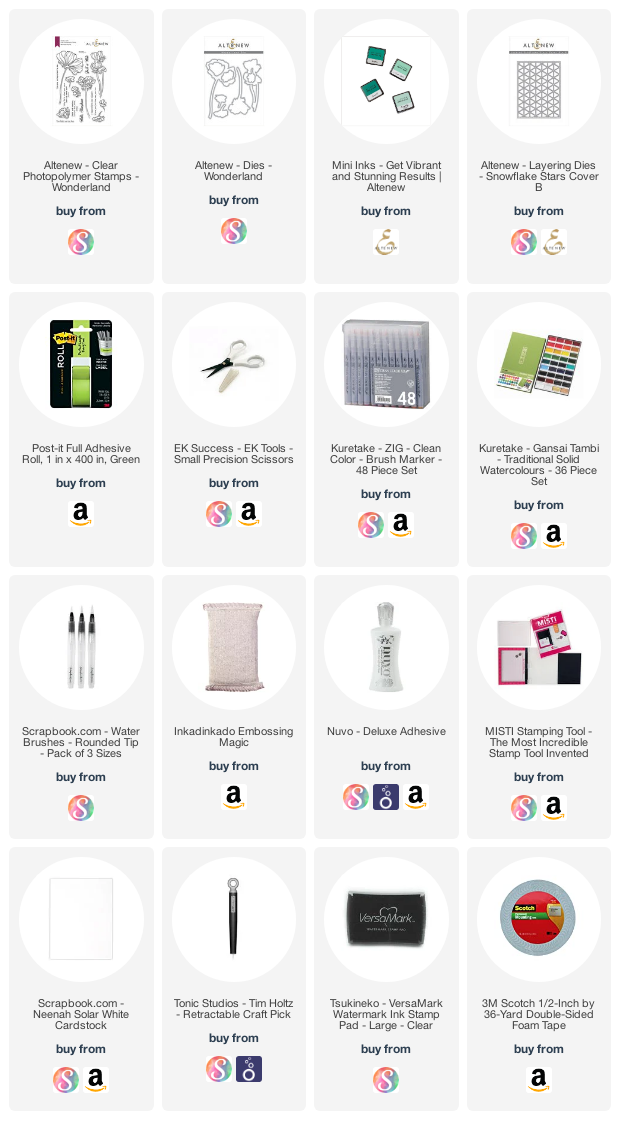
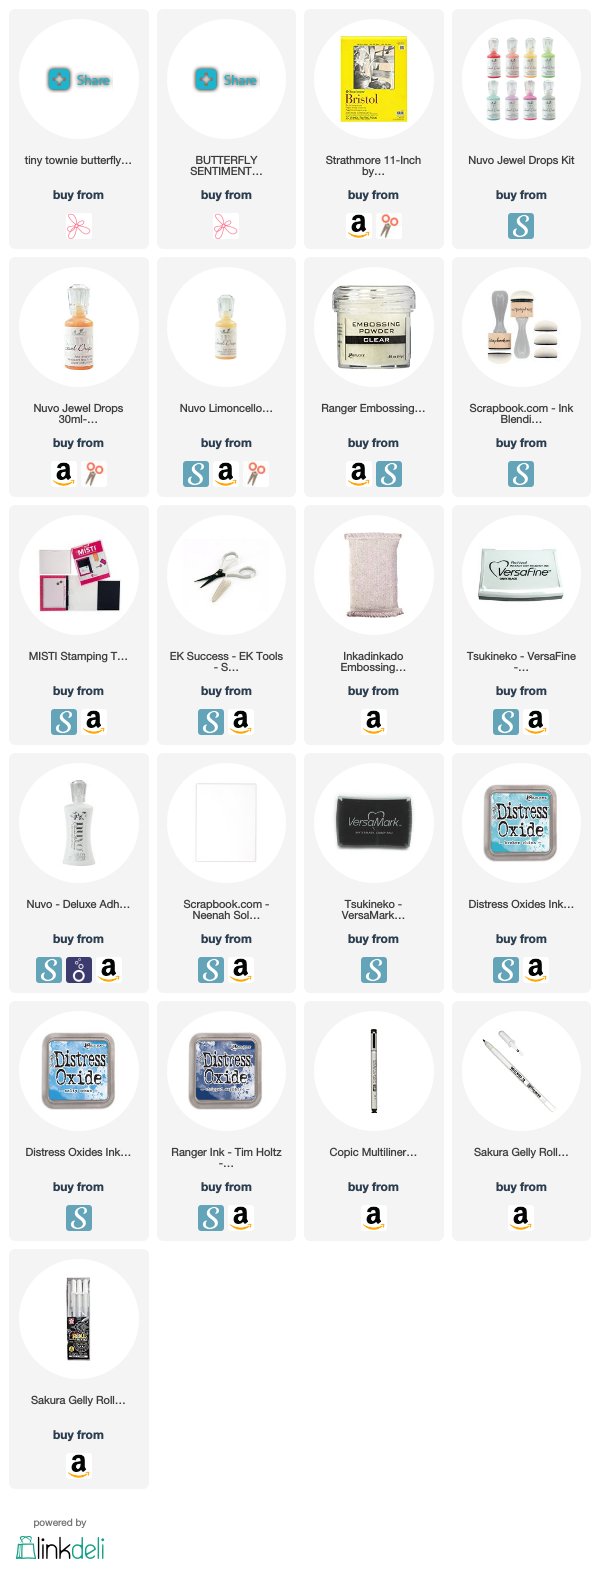
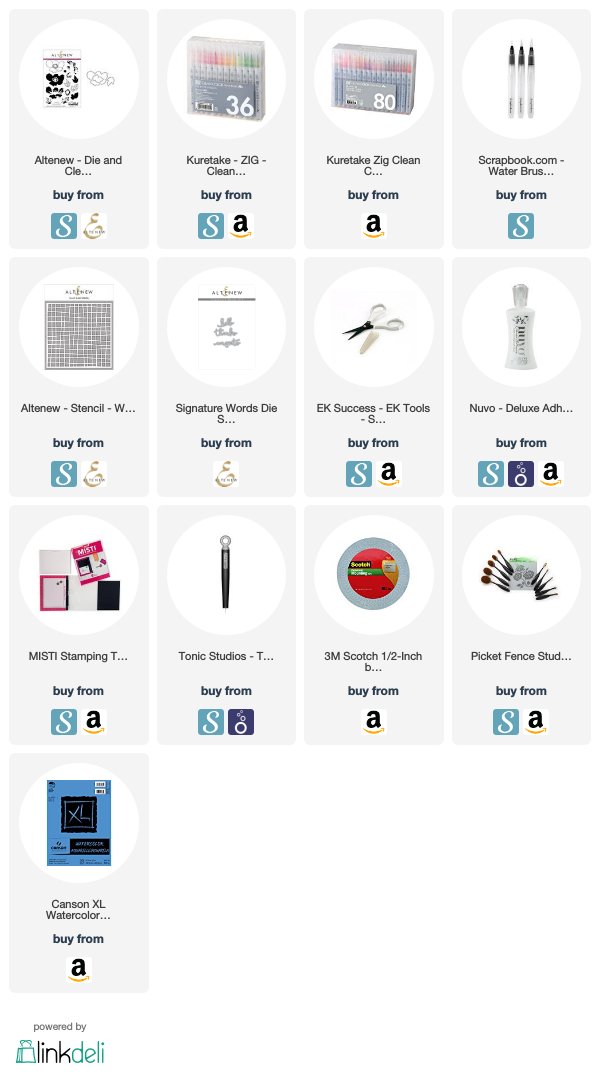
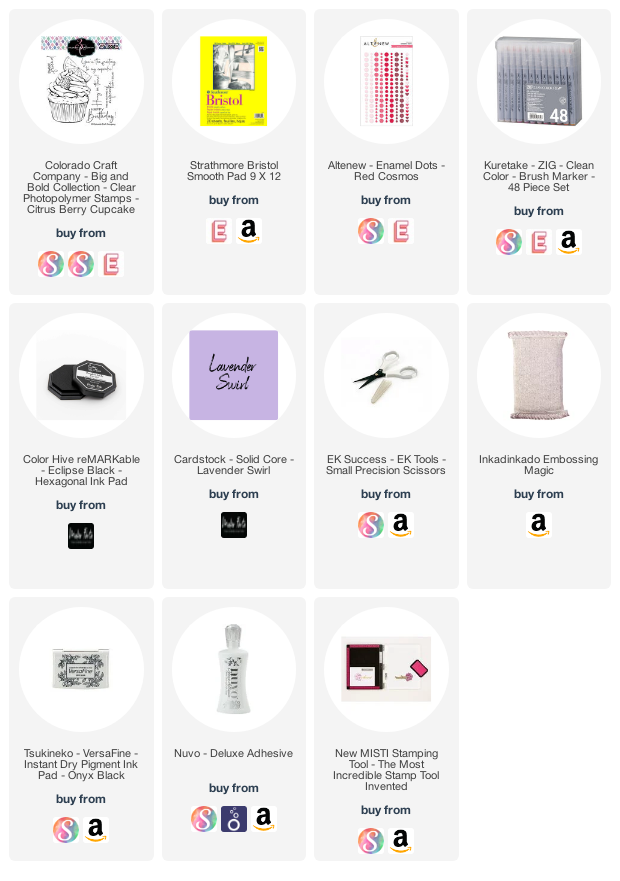
I’m often asked what supplies I use to make my cards and projects, so I’ve put together a list using affiliate links when possible. If you make a purchase with these links I may receive a small commission. These help me to keep up with blog costs and continue bringing you fun projects. Thank you so much for your support!
Check out the challenge and see all the details about participating yourself HERE.
Thanks for stopping by!