Hello! Today I’m excited to bring you a new video about Masking Alice with the Teacups. I have some advanced masking techniques for this one (but I think they are actually EASY), so I hope you will take a look!
Watch the video below or in HD on YouTube:

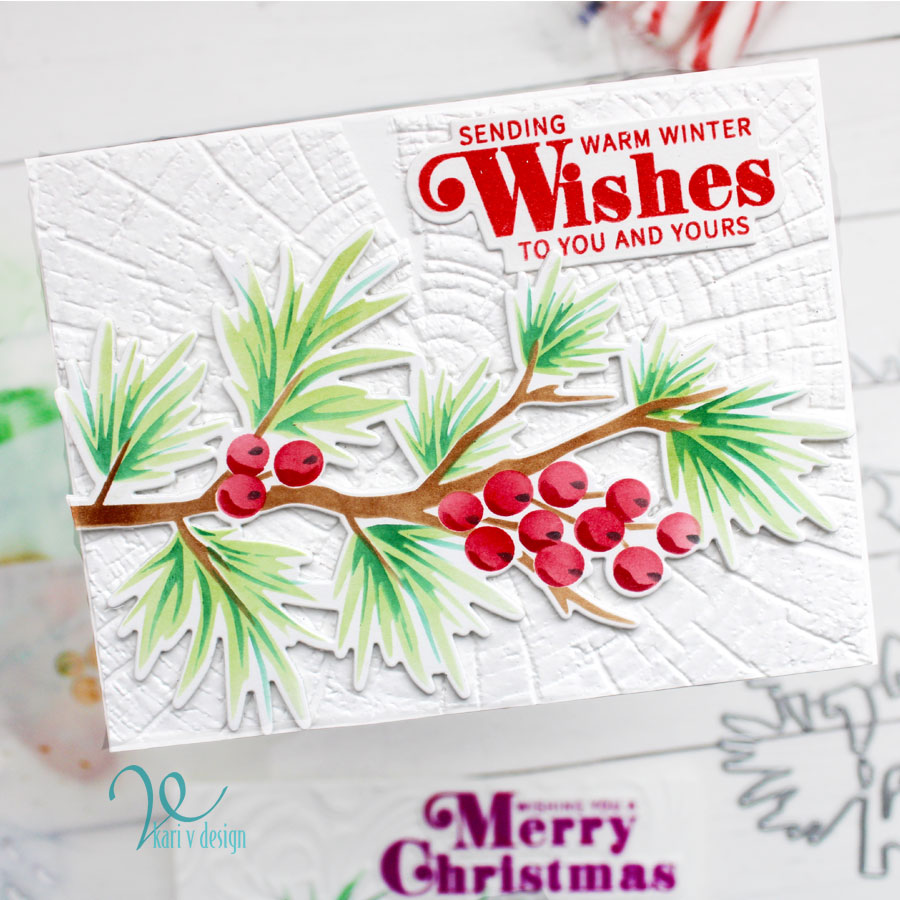
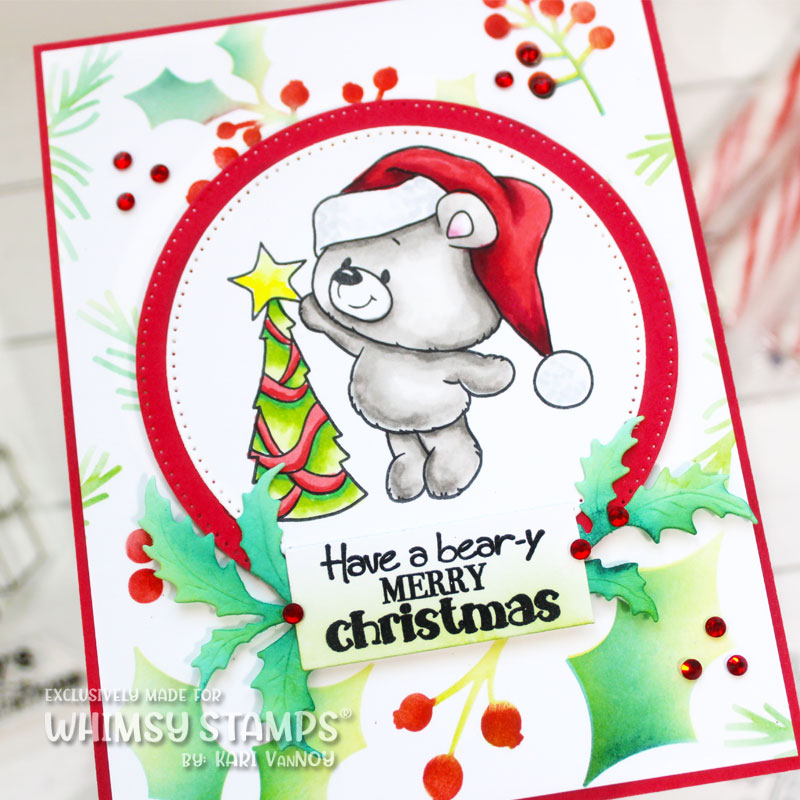
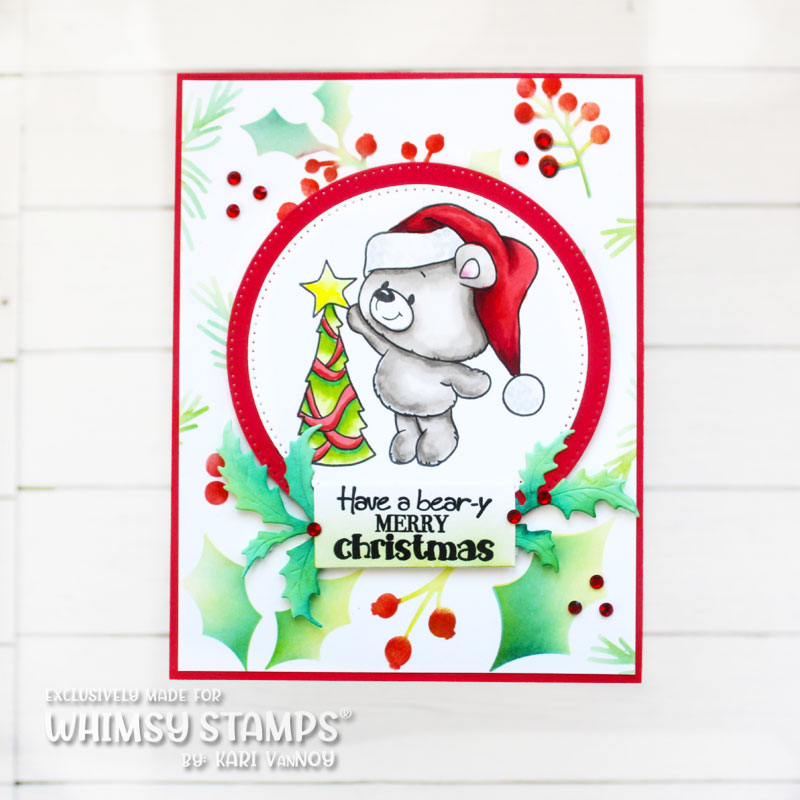
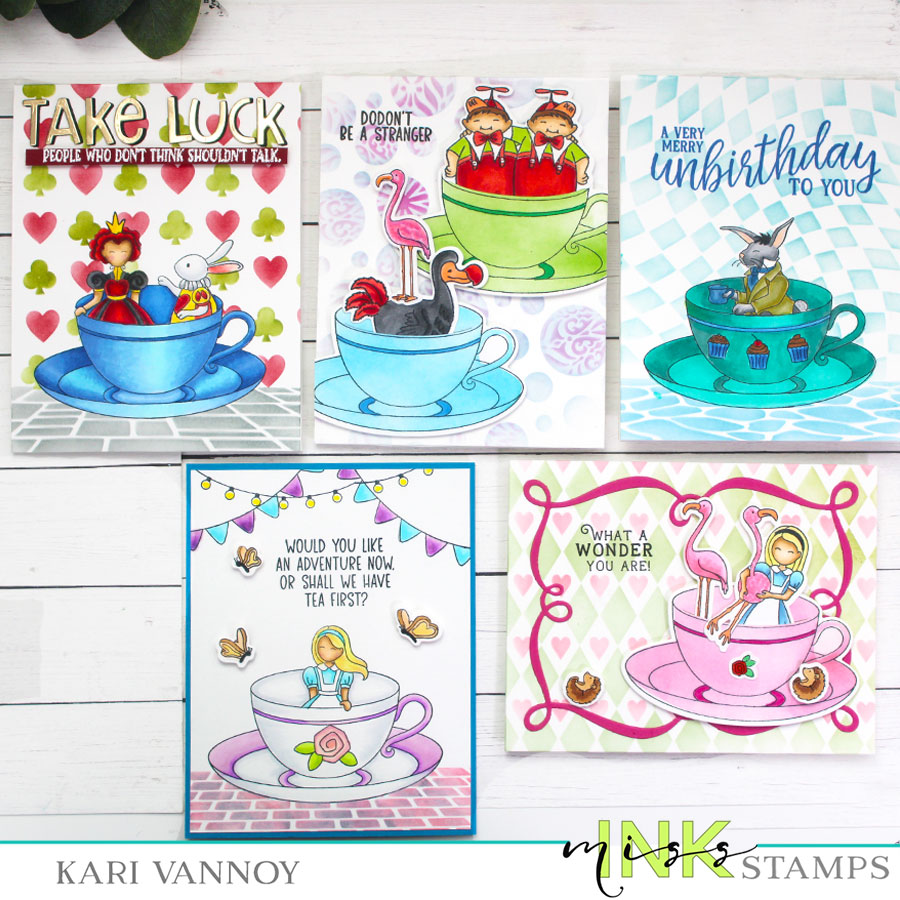
I really love this Alice Collection and I pulled in quite a few sets to make these cards. Everything is interchangeable in this collection…so it all worked seamlessly.

The sentiment on this was created with the alphabet from the EIEIO stamp set. It’s a combination of “Take Care” and “Good Luck”…both of which you need when talking to the Queen of Hearts! Lol.
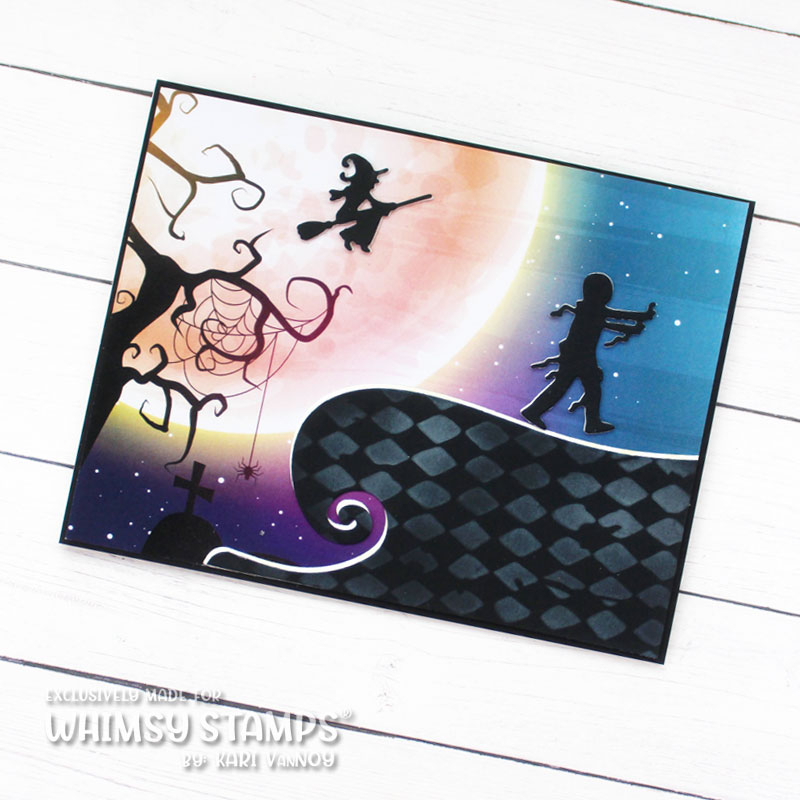
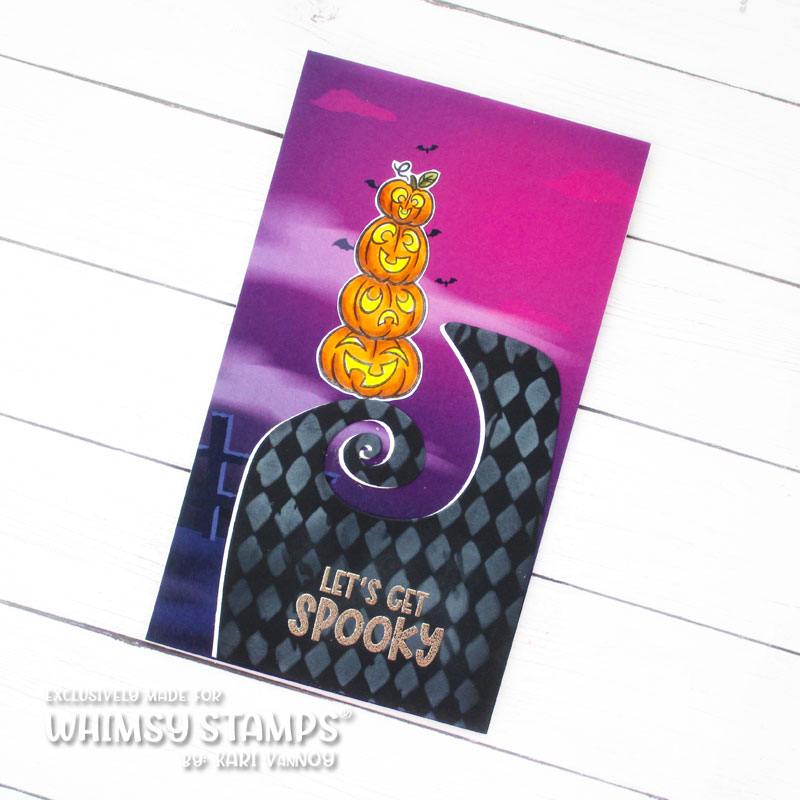
I also used the Perspective Floor stencil for many of these cards. This is not necessarily an Alice stencil, but it can be used for SO MANY different scenes. It’s definitely a favorite of mine.
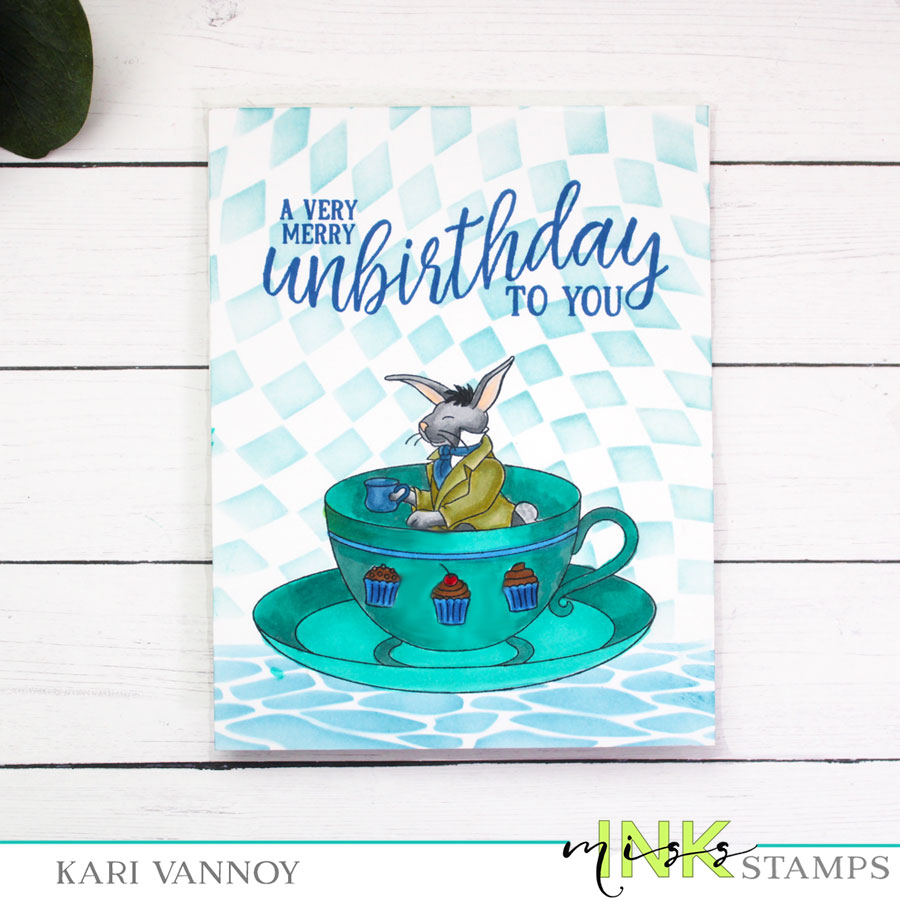
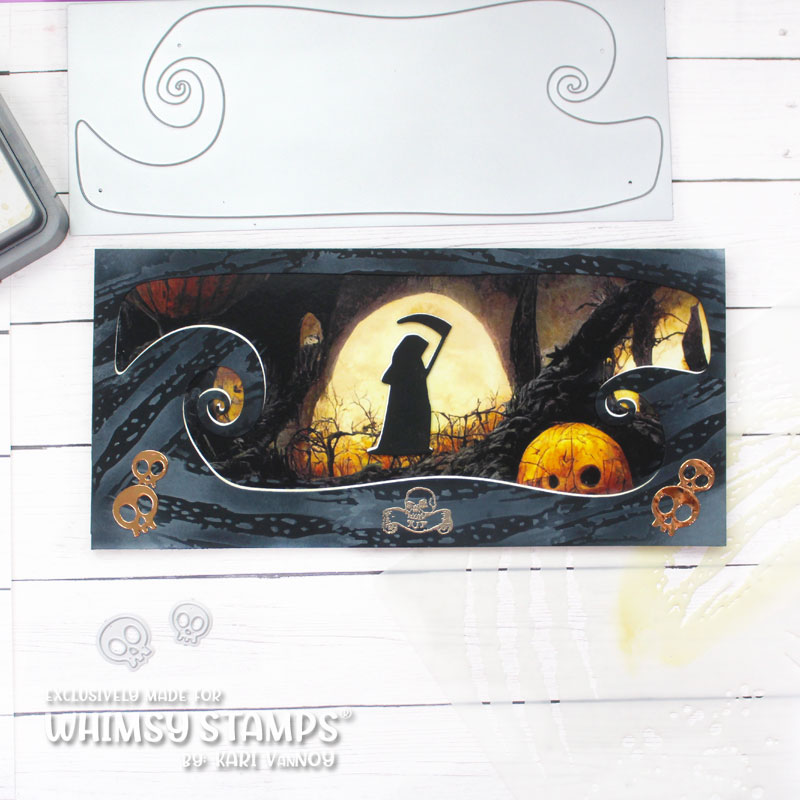
I also share in the video how to use any image and mask it to fit in the teacup…it really makes it fun to think of different cards you could make!
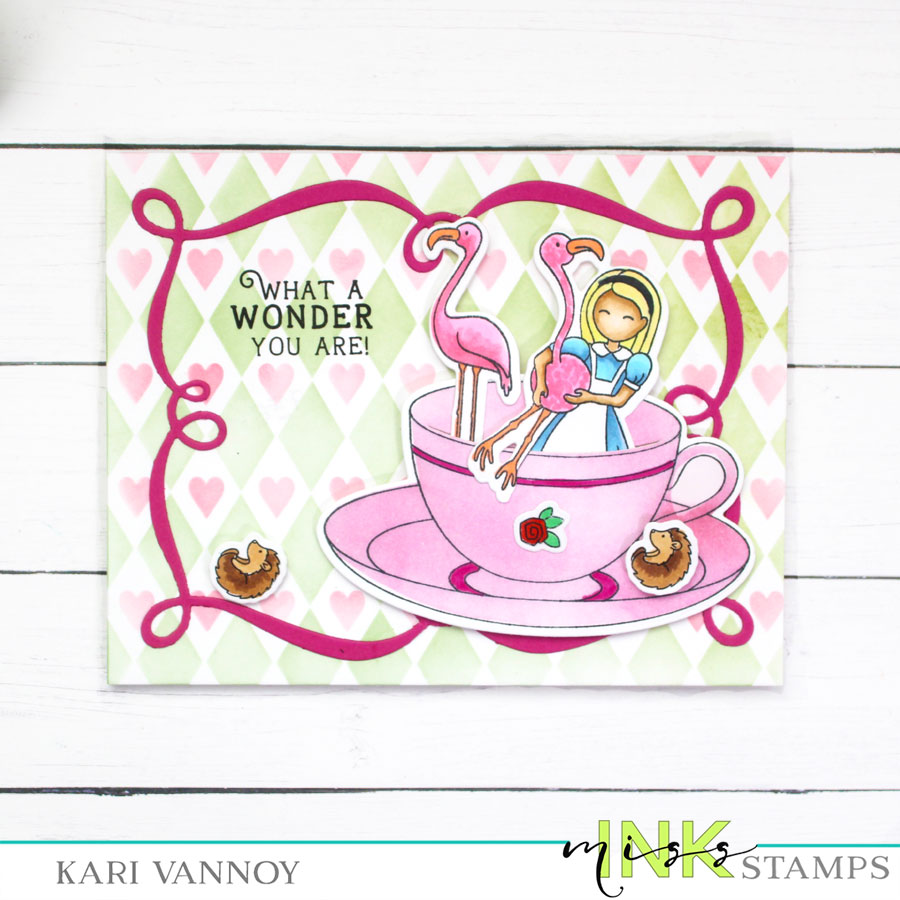
I love the Hi Swirl Frame with this Alice and her Flamingo in a Teacup. The background is created with the Alice Background Stencil Pack.
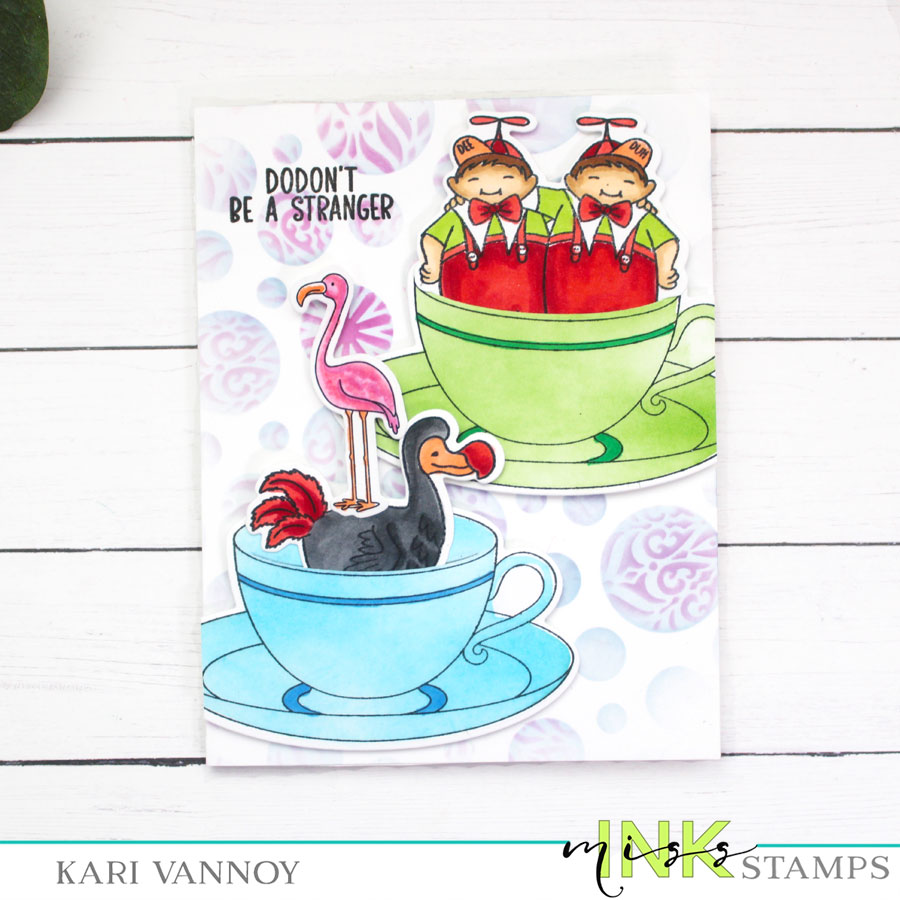
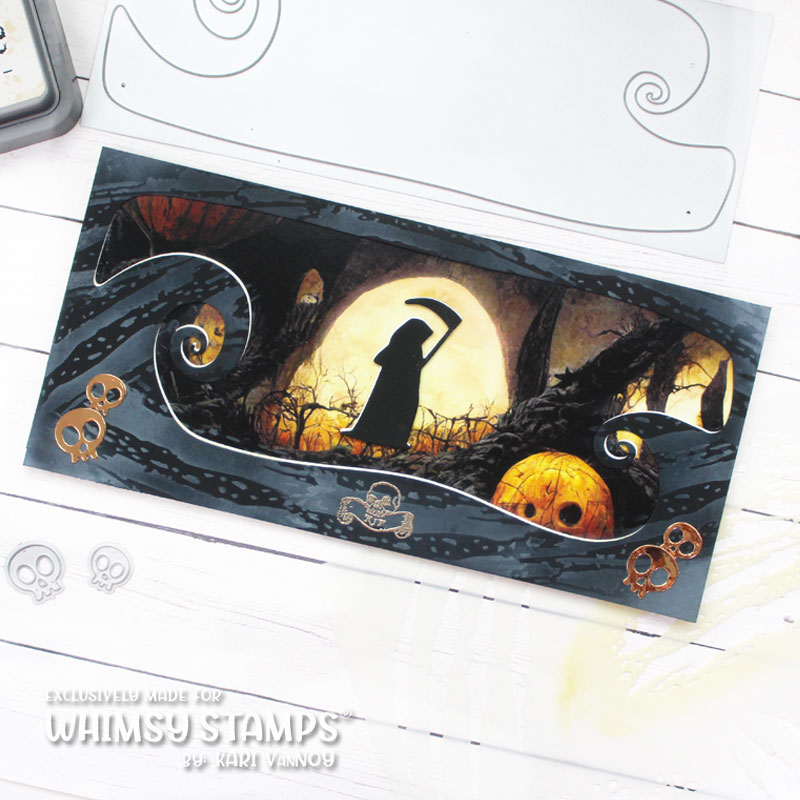
I HAD TO add Dee & Dum to a teacup also, and I was able to fit them in with just a little bit of surgery (sorry about that leg, Dee)! I also love the Dodo bird with a flamingo on his back!
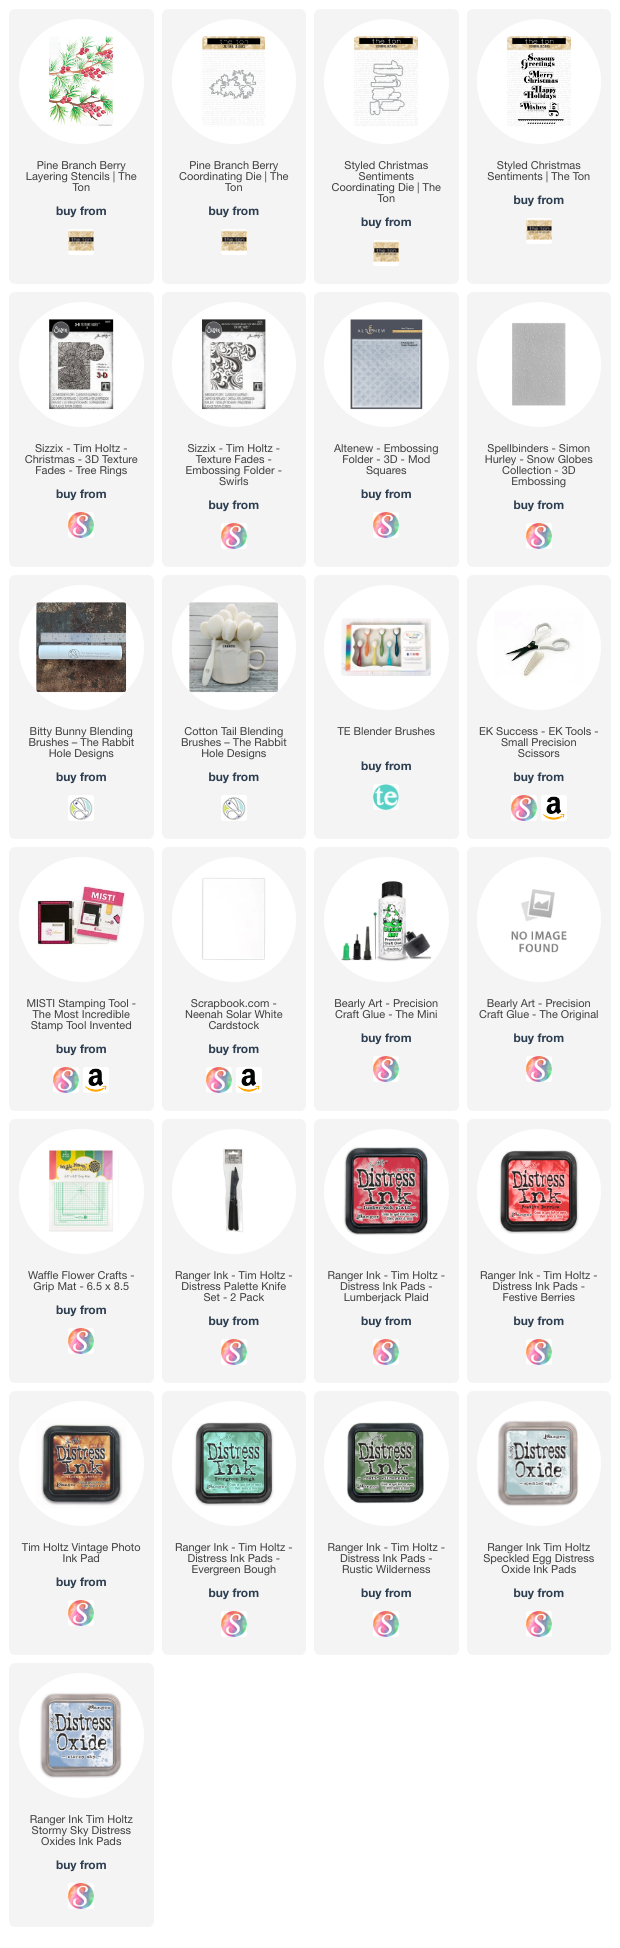
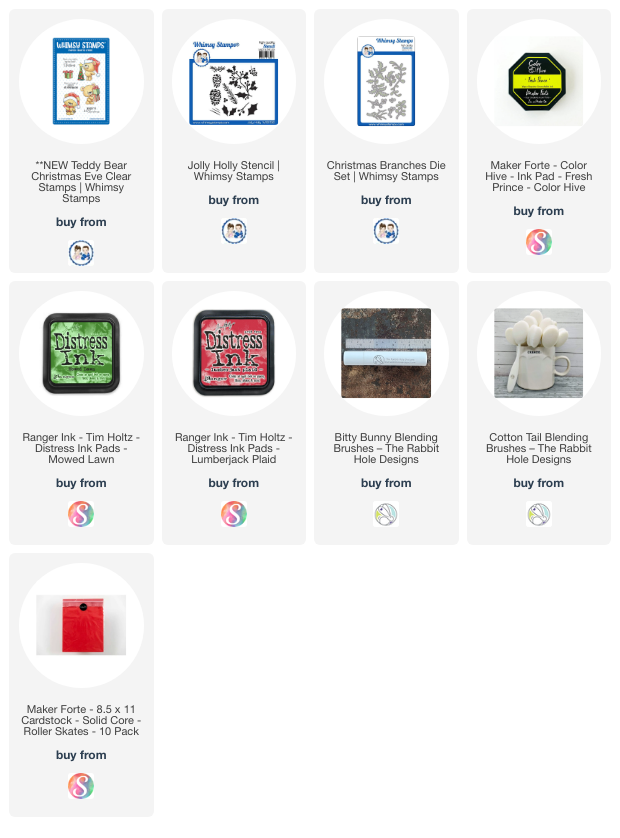
I’m often asked what supplies I use to make my cards and projects, so I’ve put together a list using affiliate links when possible. If you make a purchase with these links I may receive a small commission. These help me to keep up with blog costs and continue bringing you fun projects. Thank you so much for your support!

I hope you enjoyed these cards today! I really had a great time creating with my favorite Alice Collection!