Archive | Christmas RSS feed for this section
Kari-V-Tropical-Christmas-2

How About a Tropical Christmas?

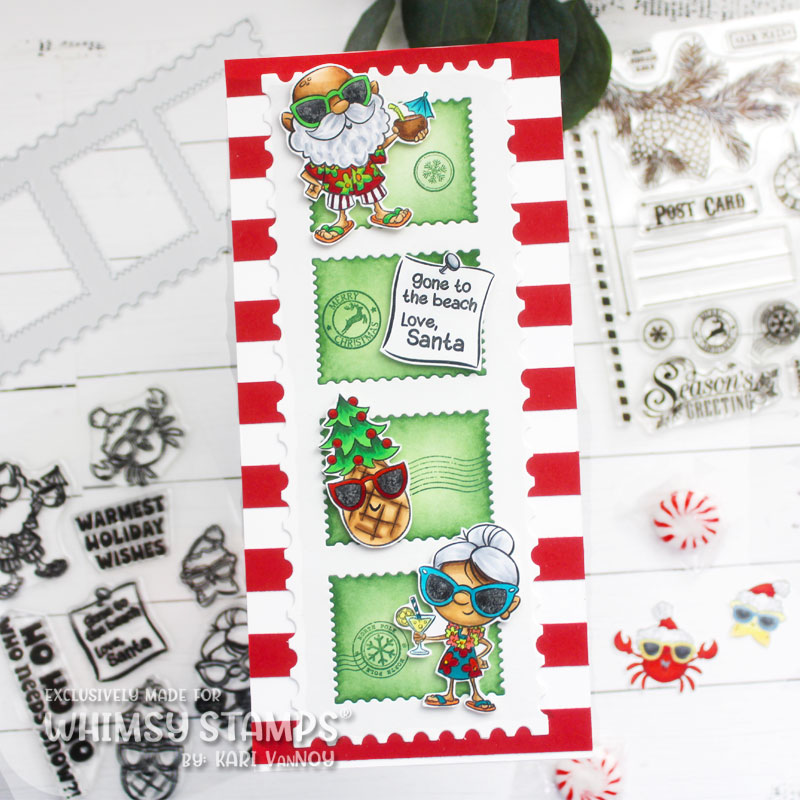
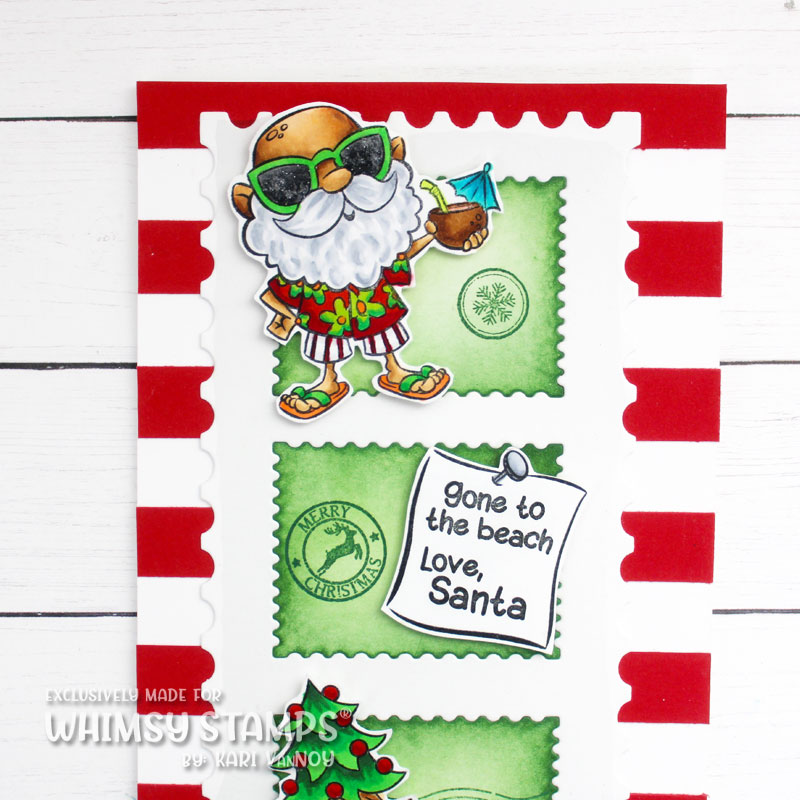
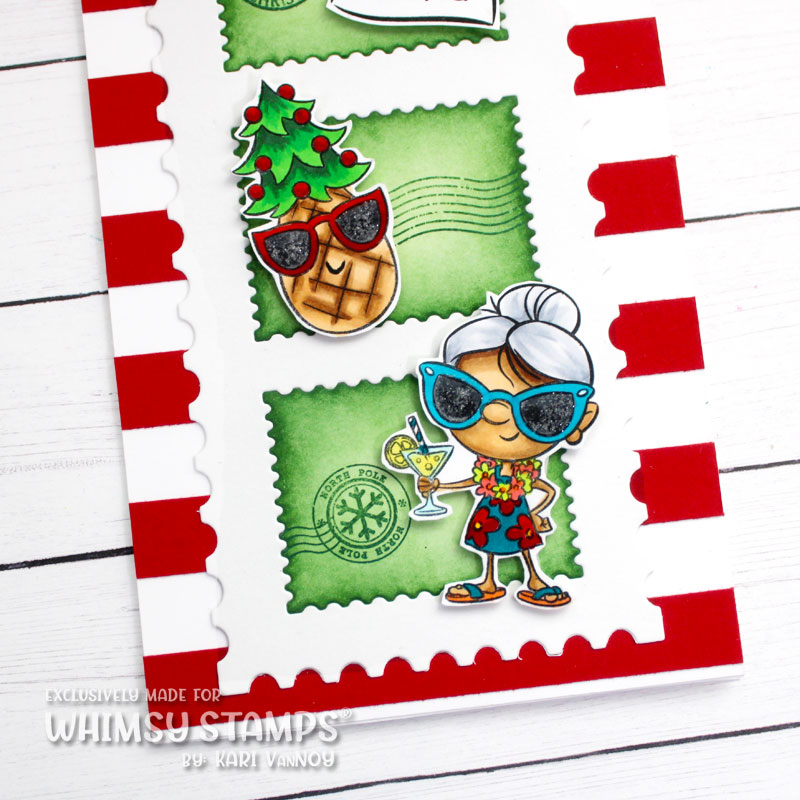
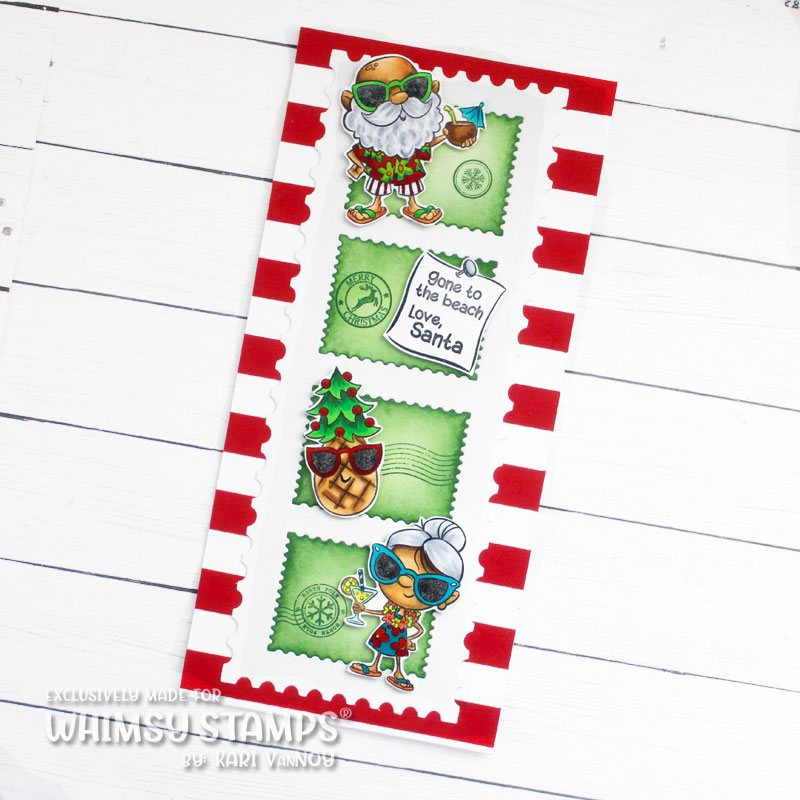
Hello! Today I have a Tropical Christmas slimline card featuring Santa and Mrs. Claus at the beach! I really loved creating this card…I pulled in a Slimline Postage die set to make it feel like a travel/postcard vibe.

Watch the video below or in HD on YouTube:
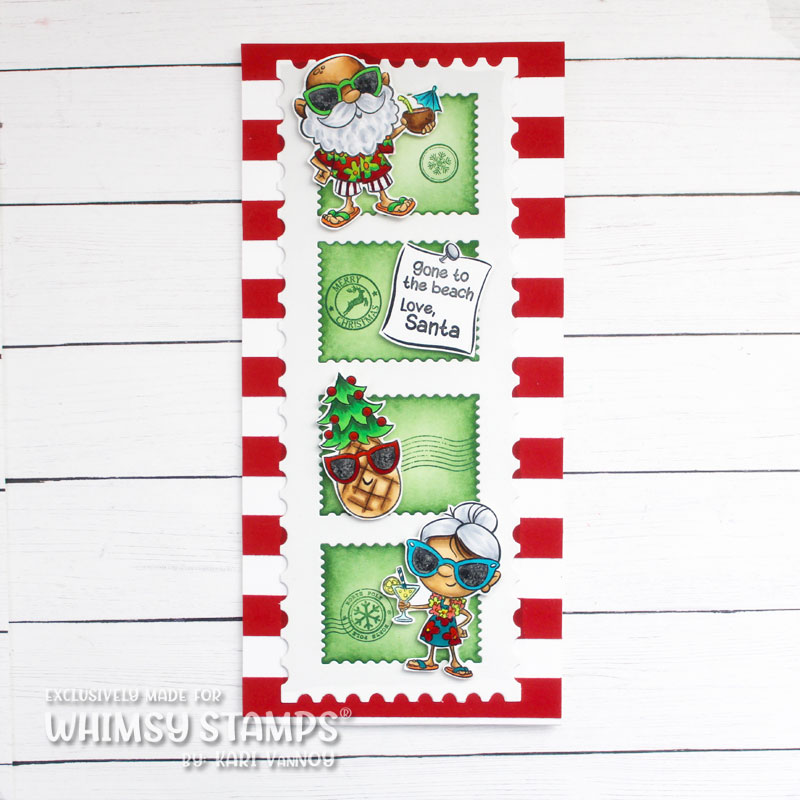
I just love these vacationing Clauses! They look so happy with drinks in hand. I gave them a bit of glittery gloss on their sunglasses…movie stars!

I hope you will watch the video to see how this card came together, and to see my cardstock-saving TIP!

Does it snow for Christmas where you are? I think Santa & his wife really deserved this tropical vacation!

I’m often asked what supplies I use to make my cards and projects, so I’ve put together a list using affiliate links when possible. If you make a purchase with these links I may receive a small commission. These help me to keep up with blog costs and continue bringing you fun projects. Thank you so much for your support!


I hope you enjoyed this video and card today! Happy Christmas!

Comments { 0 }
SUNSHINE-both-tags-with-supplies-2

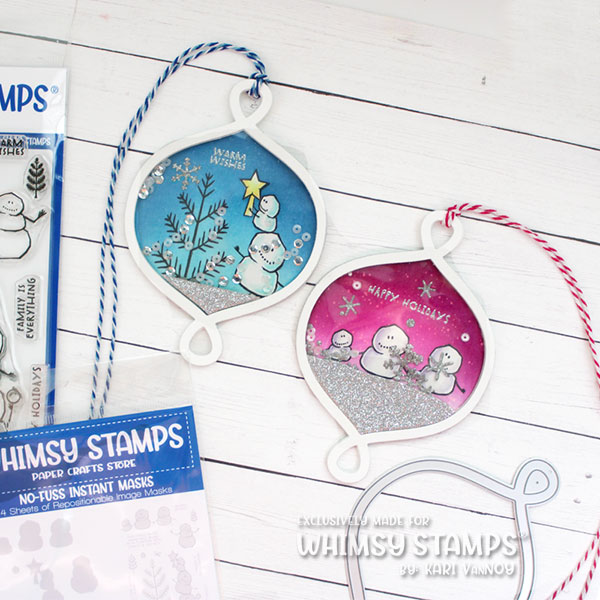
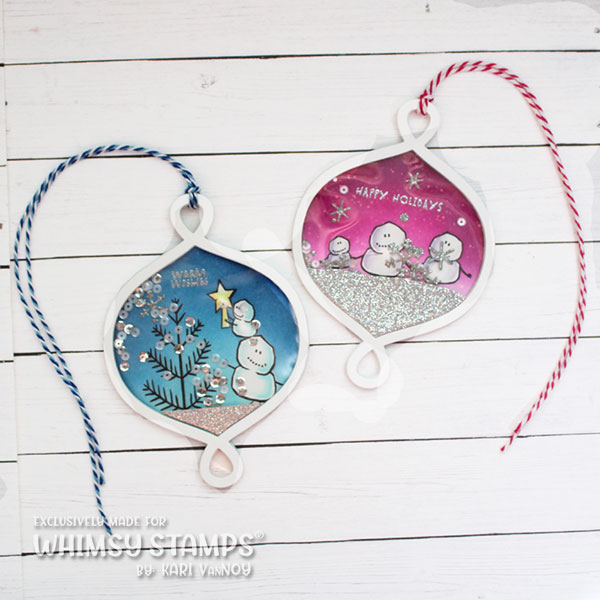
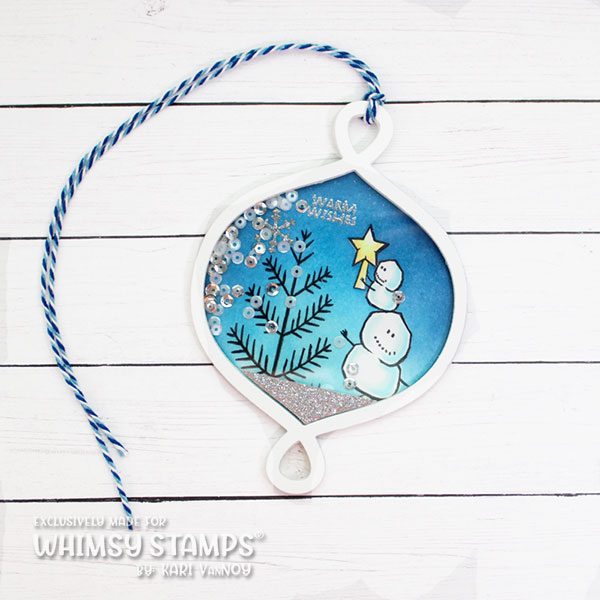
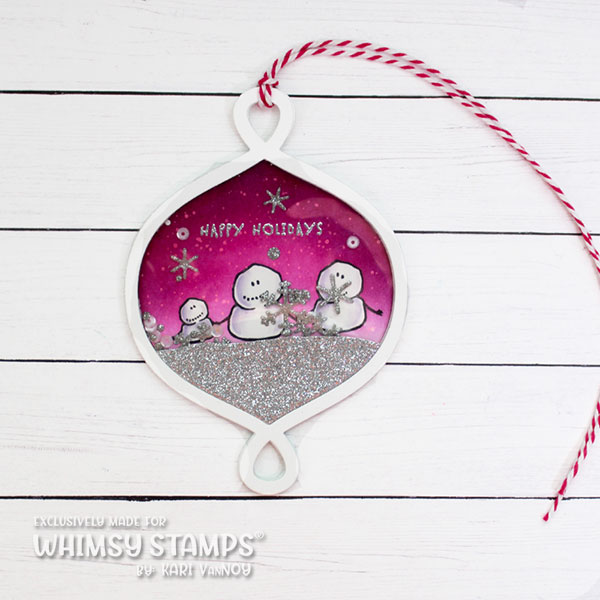
Shaker Ornaments

Hello! Today I’m sharing some Shaker Ornaments as a part of a VIDEO HOP with Whimsy Stamps. Head on over to the video below to see all the details and comment and hop along to win a $50 Gift Card to Whimsy Stamps!

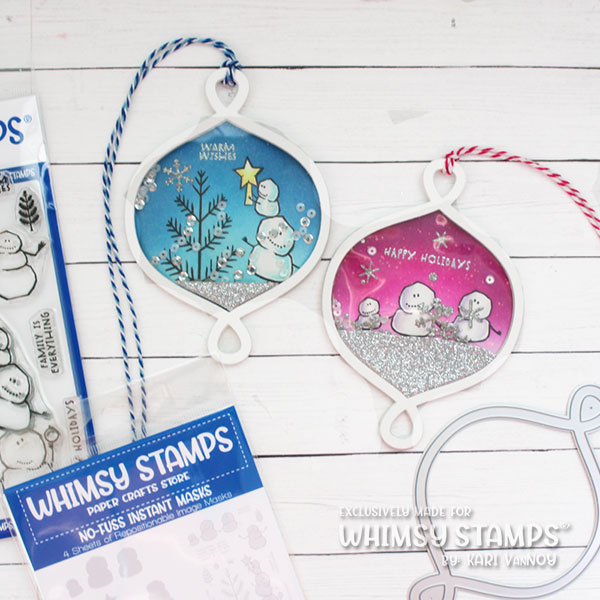
These shaker ornament/tags are really fun to make, and with just a little imagination and creativity…work great as a SHAKER ornament or tag!

I am using the new No Fuss Masks to make this project EXTRA EASY! Watch the video to see how these come together and how ordinary clear tape makes a shaker even possible.

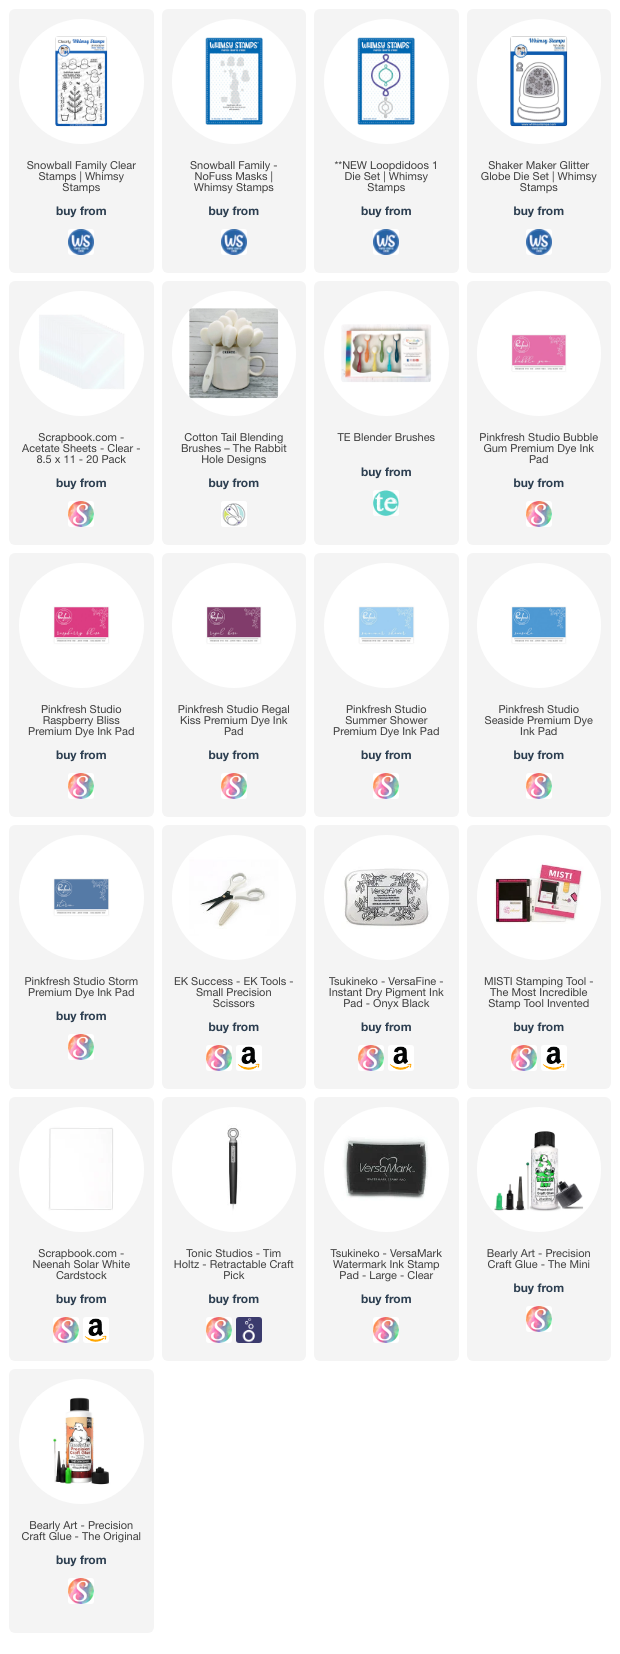
I’m often asked what supplies I use to make my cards and projects, so I’ve put together a list using affiliate links when possible. If you make a purchase with these links I may receive a small commission. These help me to keep up with blog costs and continue bringing you fun projects. Thank you so much for your support!


I hope you enjoyed these ornaments today! Good luck in the hop! Remember, you must comment on the VIDEO itself to be entered to win.

Comments { 0 }
Kari-V-slimline-double-oven-die-and-baking-die-set-card-4

Double Oven Slimline Shaker Card

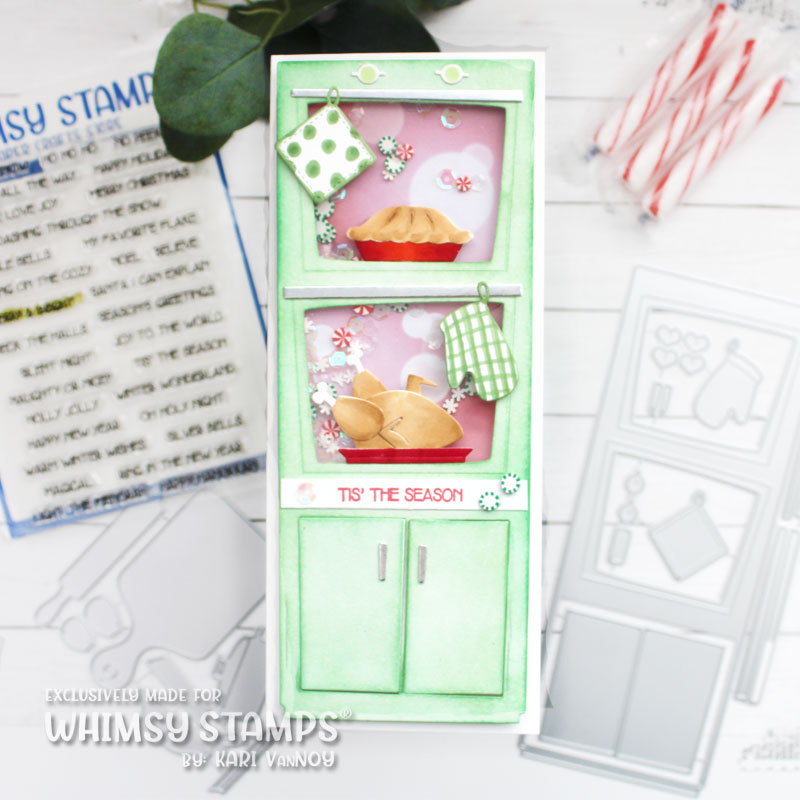
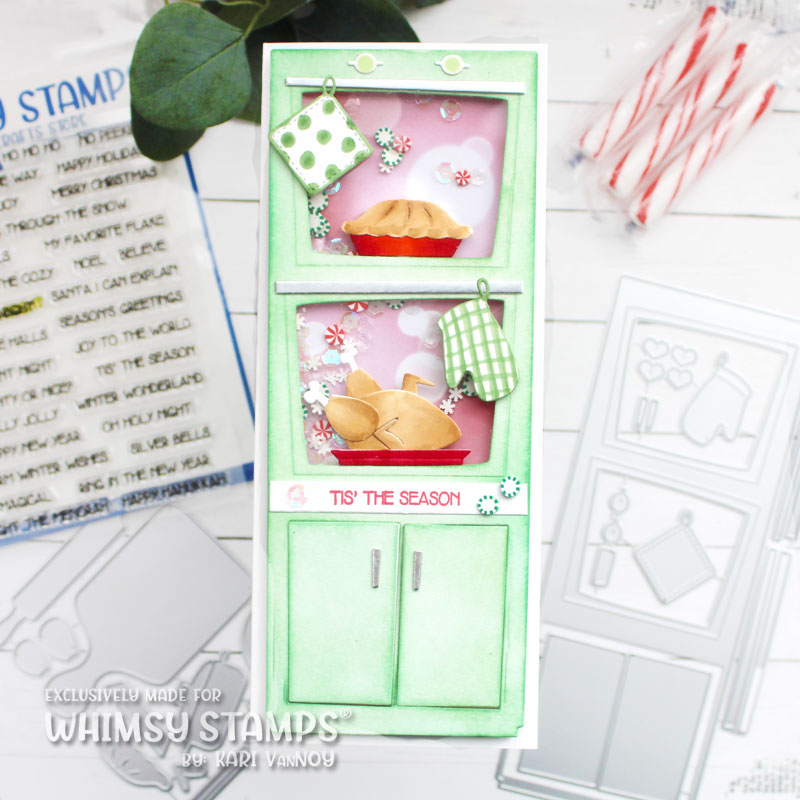
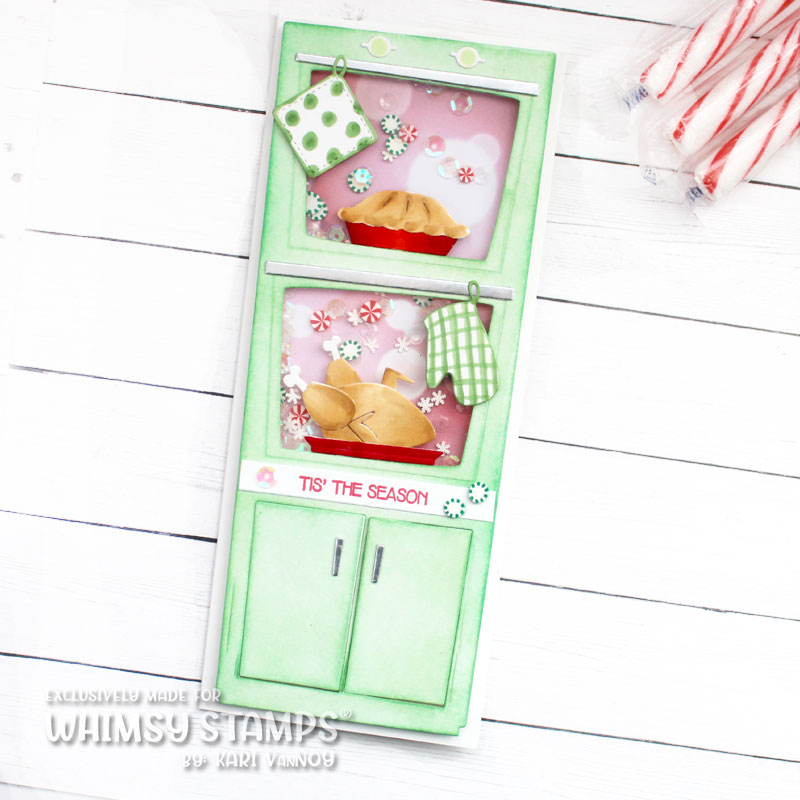
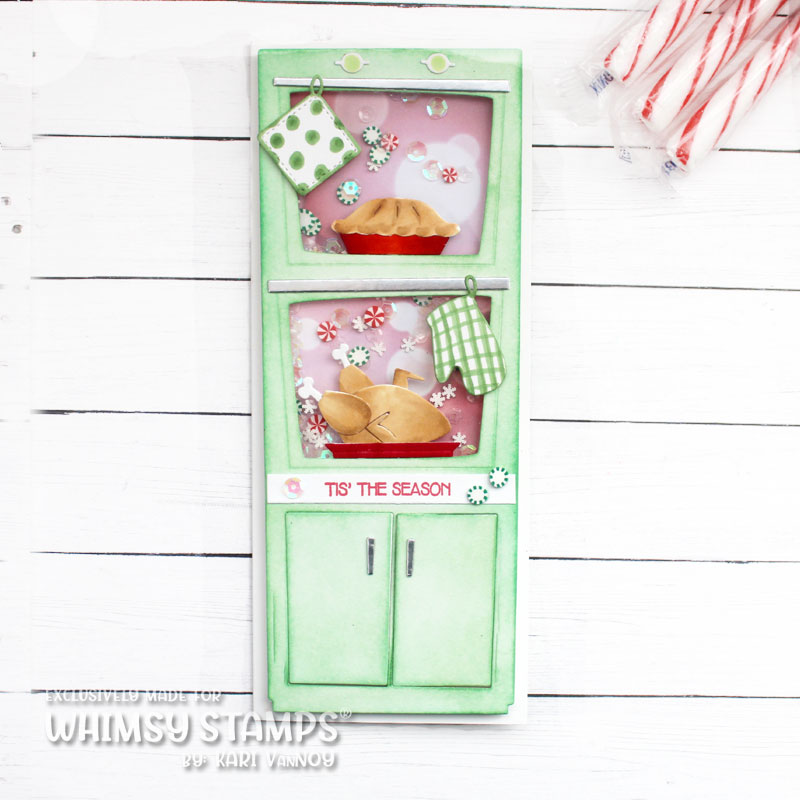
Hello! Today I have a Double Oven Slimline Shaker Card to share and Oh is it awesome! This new die from Whimsy Stamps is one of my new favorites…and I don’t think it’s hard to see why. Just take a look at the video and photos below!

I’ve share all the details and how-to in the video so it’s easy! I love the little oven mitt and potholder. I also used the NEW Baking die set to add in the pie and the turkey (how cute are they)?!?

I do think this slimline oven is the cutest as a shaker card, but you certainly don’t have to make it into a shaker. I added some peppermint embellishments to my shaker (they just remind me of the holidays)!

I just had to make a mint green shaker oven…inspired by my new mini fridge at my office! It’s so cute and retro!

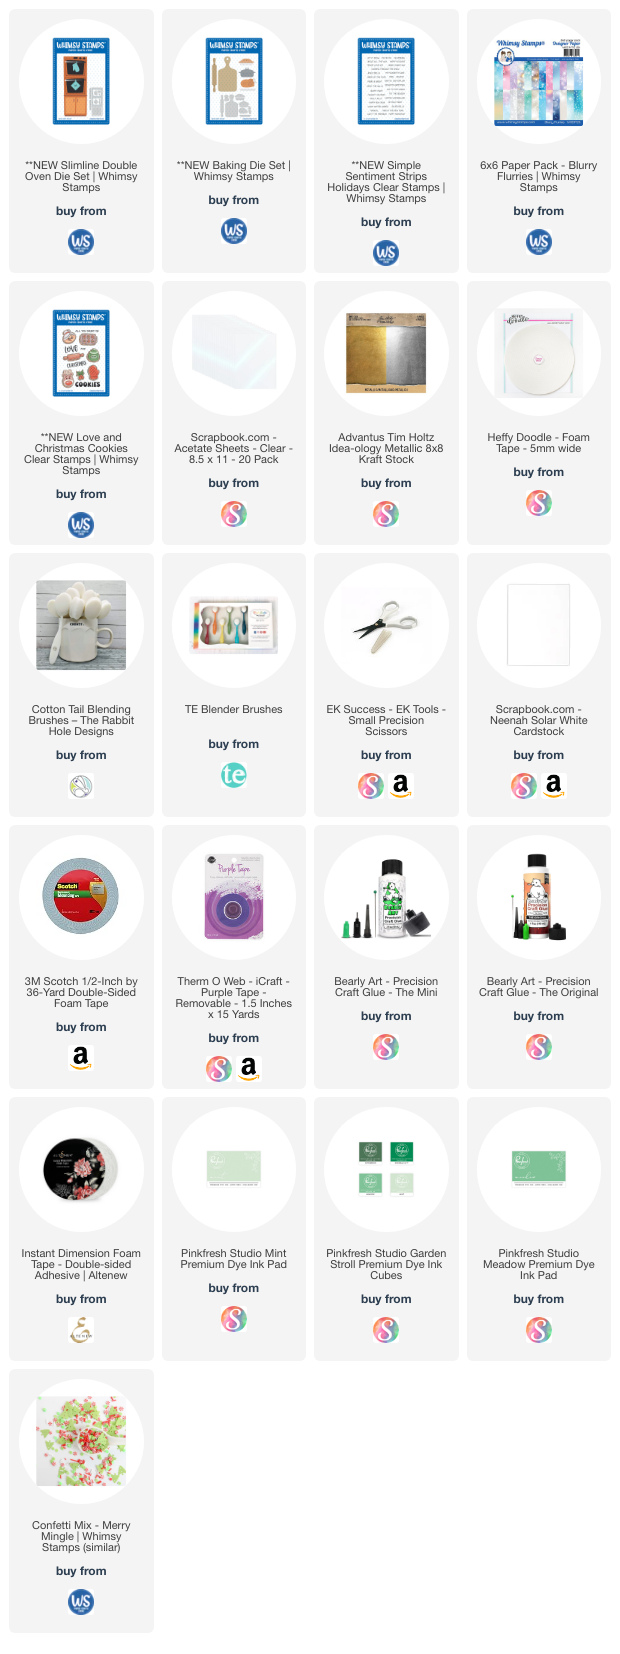
I’m often asked what supplies I use to make my cards and projects, so I’ve put together a list using affiliate links when possible. If you make a purchase with these links I may receive a small commission. These help me to keep up with blog costs and continue bringing you fun projects. Thank you so much for your support!


I hope you enjoyed this project today. I sure had a great time making it. I’d love to hear your favorite holiday baking recipes! Leave me a comment below or on the video and tell me…do you make pies?!

Comments { 0 }
SUNSHINE-Fa-la-la-card-2

Quick Holiday Cards!

Hello! Today I have some Quick Holiday cards to share in my latest video. This is a part of a video hop with prizes, so be sure to check out the video description for how to enter to win!

Watch the video below or in HD on YouTube:
These cards are so easy to put together with these new Effortless Artistry Papers and Coordinating Dies.


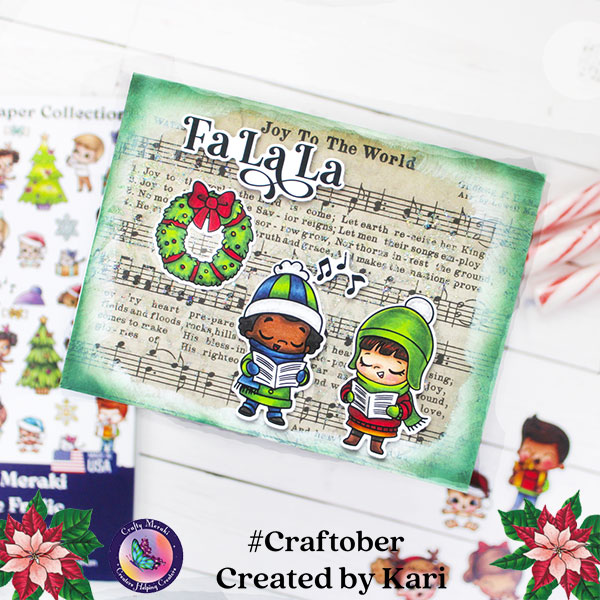
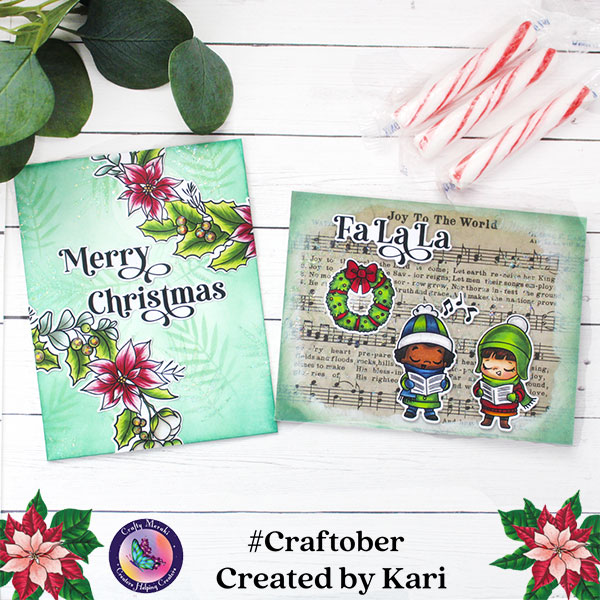
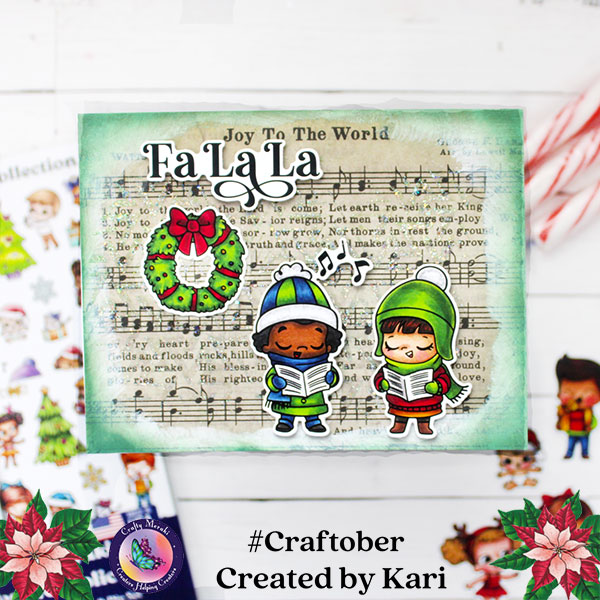
Card 1. Fa La La

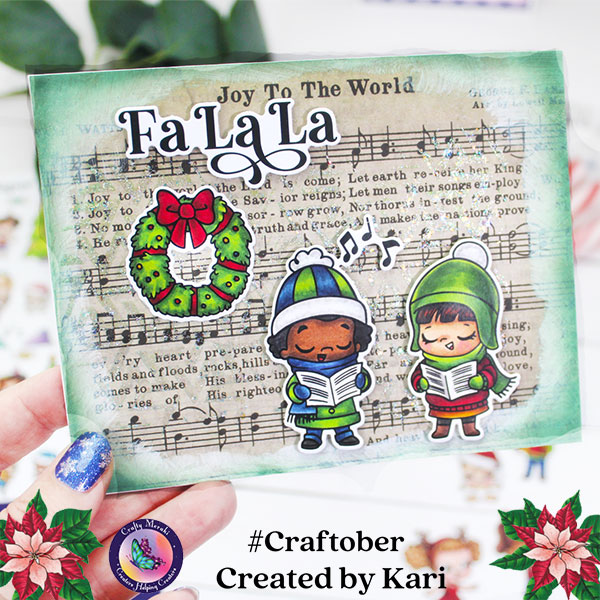
For the first card I started out with some music paper for the background and added some White Gesso around the edges. Once that was dry I edged the entire panel with Rustic Wilderness ink and added some Stickles Moon Dust glitter through the Shape Shifters Stencil.

See the glitter?

Then I added the images and sentiment cut from the Effortless Artistry Paper! Voila! A very quick holiday card!

Card 2. Merry Christmas with Wreath

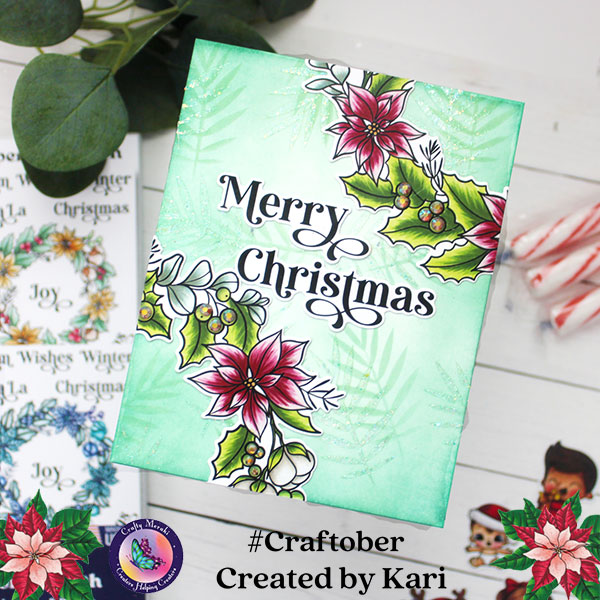
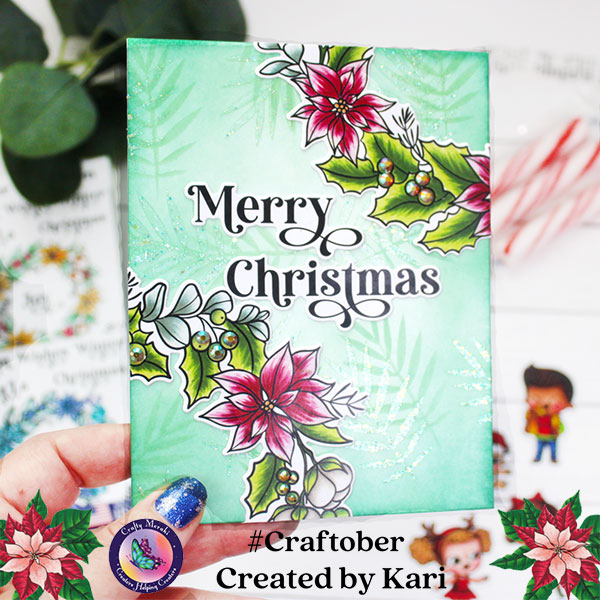
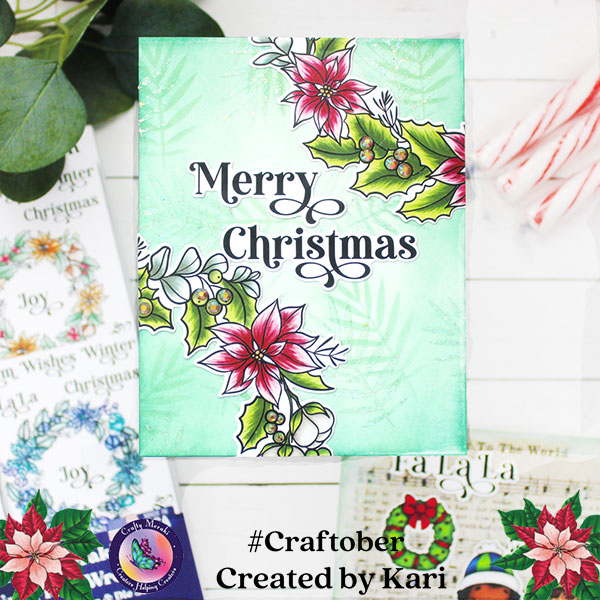
For the second card, I inked the background with Evergreen Bough Distress ink, and the same color with the leaves stencil. I then shifted the stencil and added some Stickles Glitter Moon Dust through the leaves stencil.

I added portions of the wreath to the upper right and lower left corner of the panel and then added the sentiment! For extra sparkle, I added some Gold Illusion Meraki Sparkle (gems) to the berries. So pretty!

I’m often asked what supplies I use to make my cards and projects, so I’ve put together a list using affiliate links when possible. If you make a purchase with these links I may receive a small commission. These help me to keep up with blog costs and continue bringing you fun projects. Thank you so much for your support!


I hope you enjoyed these projects today! Don’t forget to check out the video and YouTube video description for details on how to enter to win a prize! See you soon with more cards to share.

Comments { 0 }
Kari-V-Scrooge-and-thorny-frame-die-card-2

Antiquing Gilding Flakes

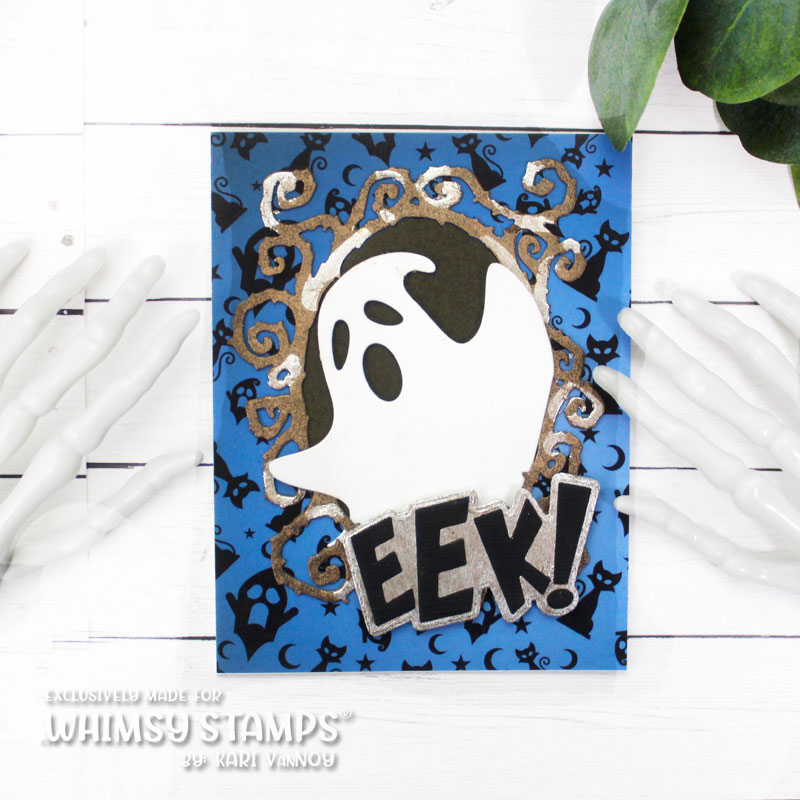
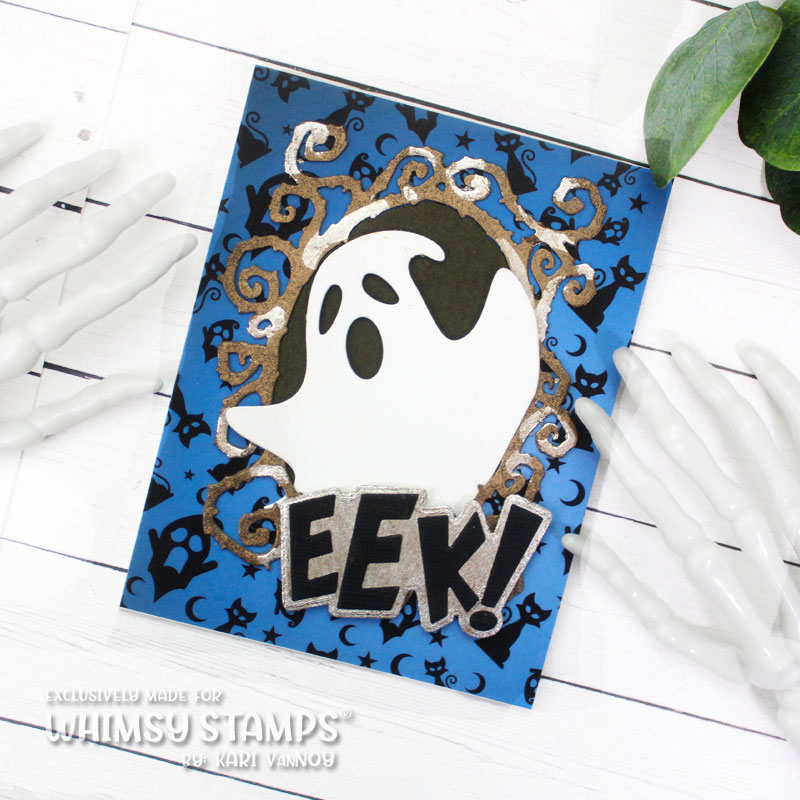
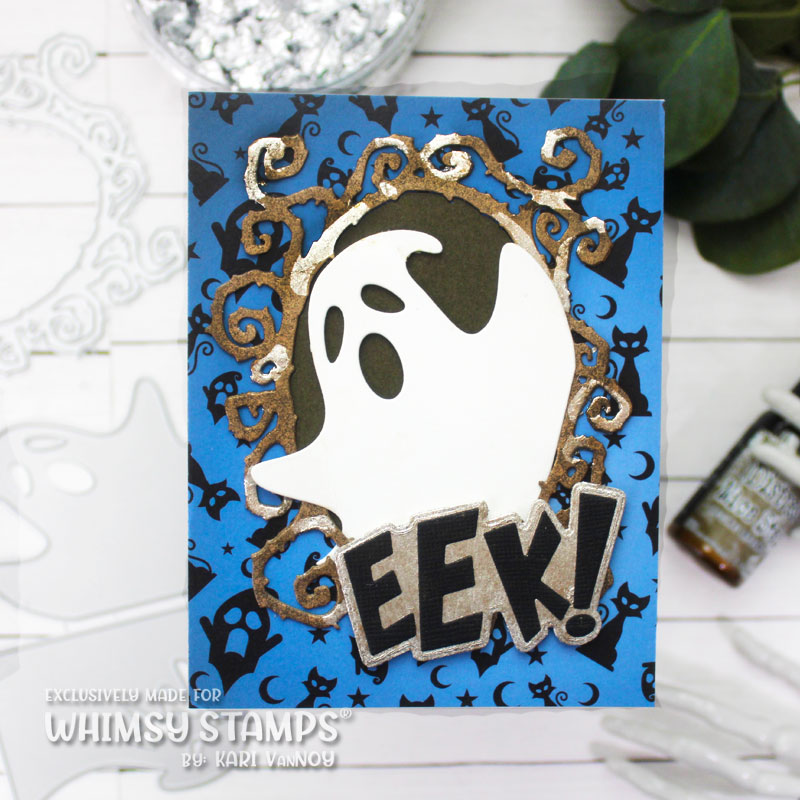
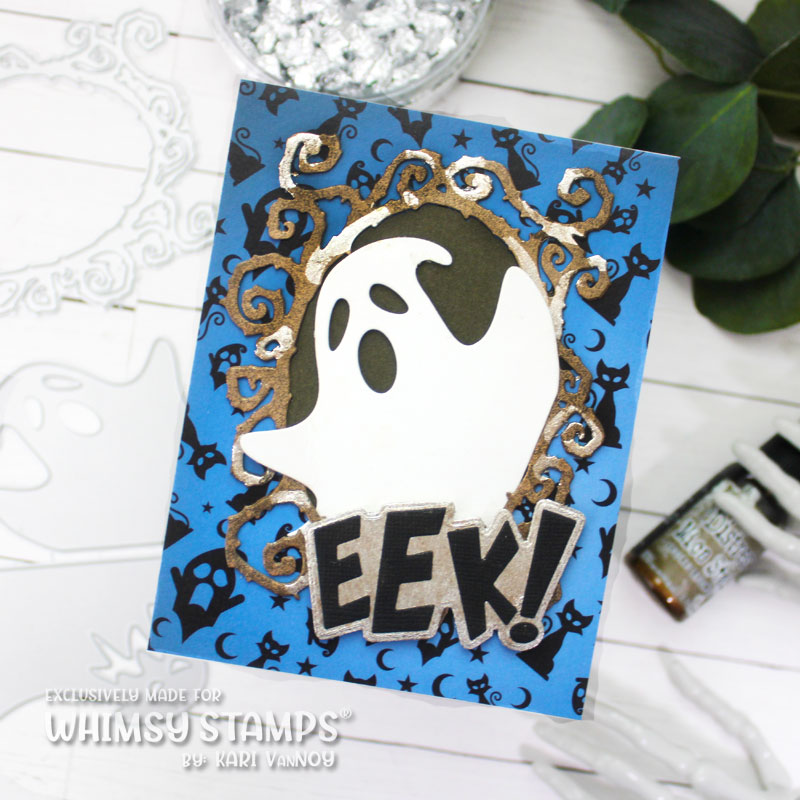
Hello! Today I have another card to share in my Halloween Card Series: Antiquing Gilding Flakes. I’m adding a cute (and spooky) ghost to a Thorny Frame Die so the ghost looks like it’s coming right out of that frame.

Watch the video below or in HD on YouTube:
When I saw that Thorny Frame Die I just knew I had to have it. I love it! I wanted to create this card with the ghost coming right out of that frame (how spooky is that)?!?

I’m using Gilding Flakes today and then creating a more antiqued look. This is a fun technique!

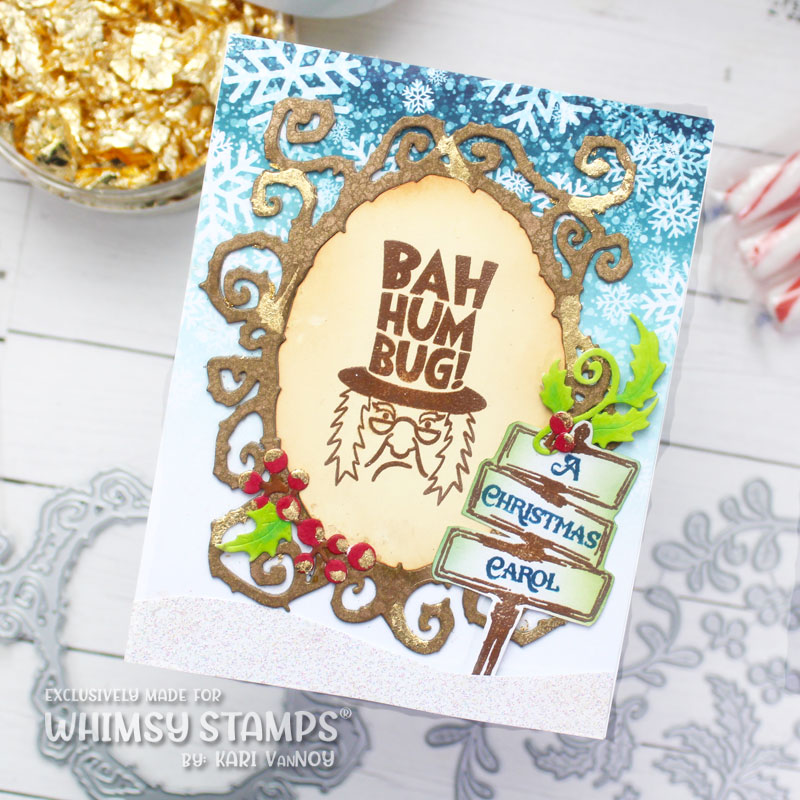
I created another card with this same technique using Gold Gilding Flakes and the new Scrooge stamp set from Whimsy:

You can see I only added the gilding flakes in small sections, and on the berries. See the video to see just how I created the gilding and then the antiqued look on those frames!

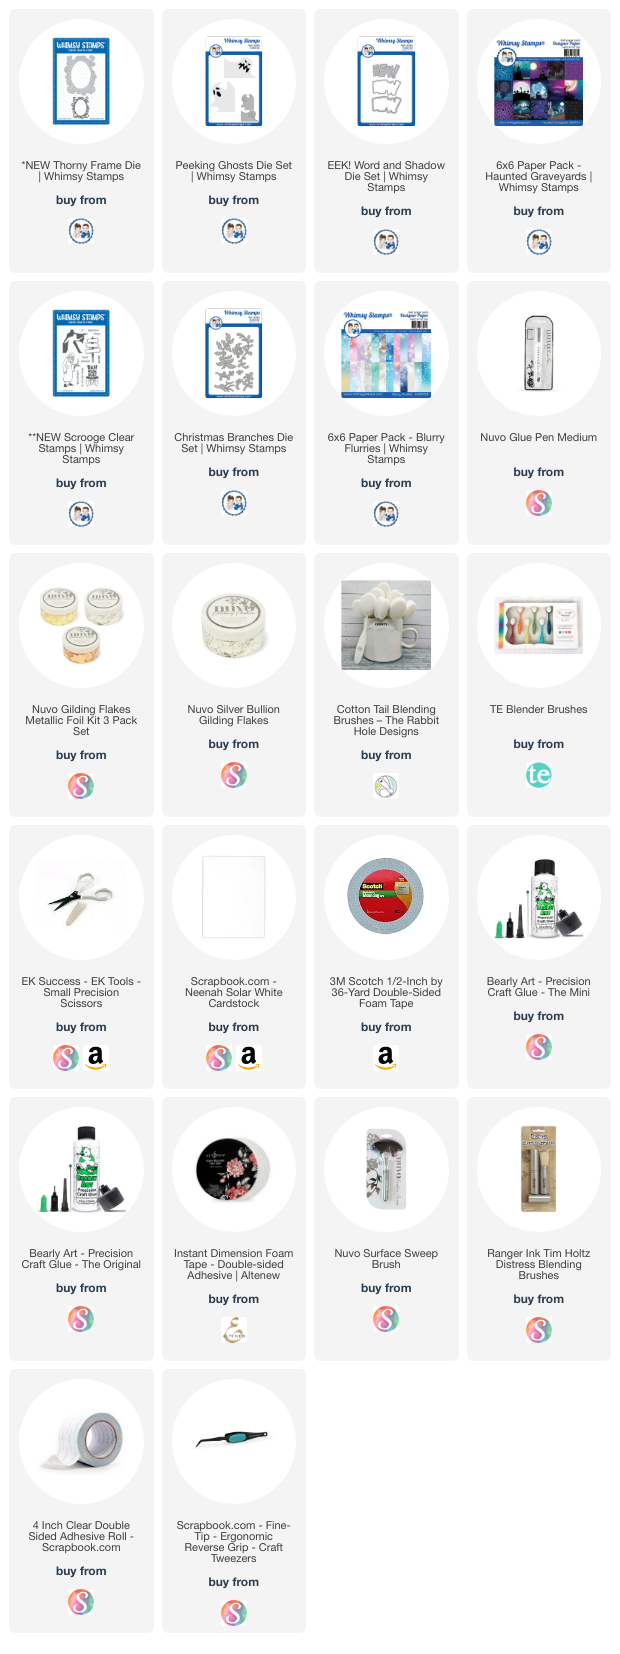
I’m often asked what supplies I use to make my cards and projects, so I’ve put together a list using affiliate links when possible. If you make a purchase with these links I may receive a small commission. These help me to keep up with blog costs and continue bringing you fun projects. Thank you so much for your support!



I hope you enjoyed this project today! See you soon with another card to share!

Comments { 0 }