Hello! Kari here today using some new Maker Forte products. When I saw this new stencil designed by Jess Fransisco, I knew it had to be my first project!! I am sharing how to Emboss with a stencil and add some foiled sentiment accents with the *new Toner Paper.
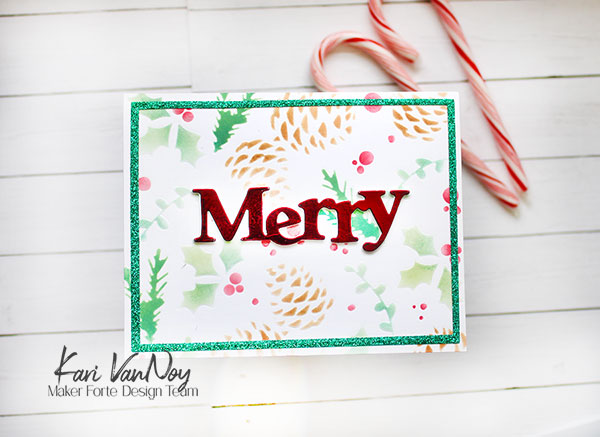
Here’s a look at my card:
I have a quick video so you can see the new products and some tips on using this stencil (with NO masking!!) I love a good stencil that you can use without masking. Watch the video below or in HD on YouTube:
This card actually came together very quickly and I think it would be fun to create a lot of these backgrounds in different colors. Today I’m keeping it traditional with the reds and greens, but imagine pinks and turquoise!! (I love it already!)

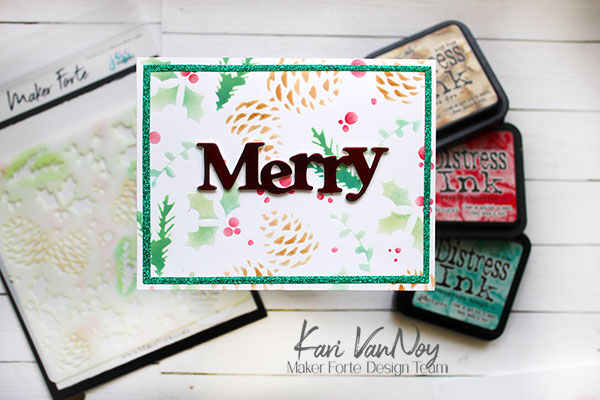
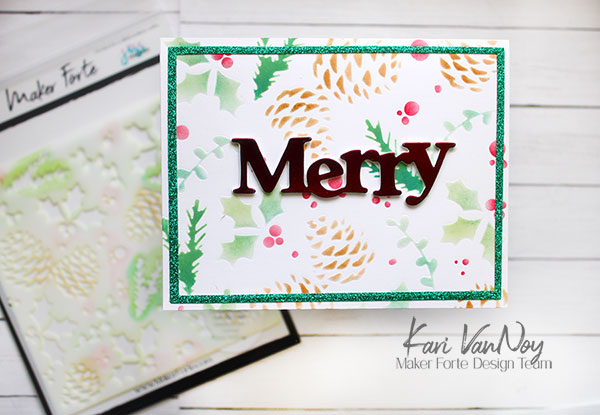
I started off taping the stencil to my panel with purple tape; then I ran it through my die cutting machine with the embossing pad. This created another element of dimension. I inked through the stencil with some Distress Inks in the following colors: Festive Berries, Evergreen Bough, Tea Dye, Vintage Photo, and Pine Needles.
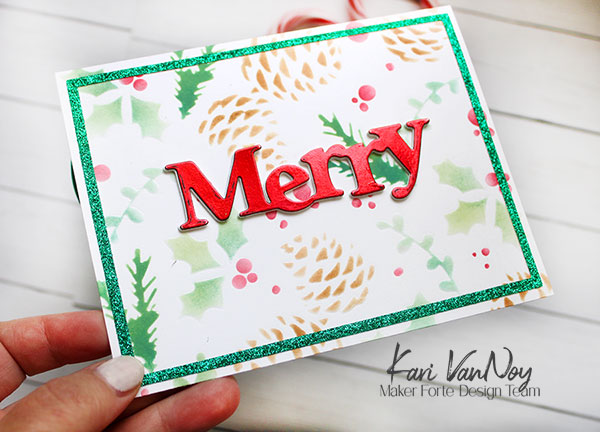
I then die cut the Toner Sheets using a “merry” die from my stash. I cut some foil to cover the die cut word and ran it through my Minc machine on level #3. You can also use a lamintor for foiling.
To finish off the card, I die cut a frame out of glitter paper using two rectangle dies. Then I attached it all to a heavy weight card base.
I’m often asked what supplies I use to make my cards and projects, so I’ve put together a list using affiliate links when possible. If you make a purchase with these links I may receive a small commission. These help me to keep up with blog costs and continue bringing you fun projects. Thank you so much for your support!


Comments are closed.