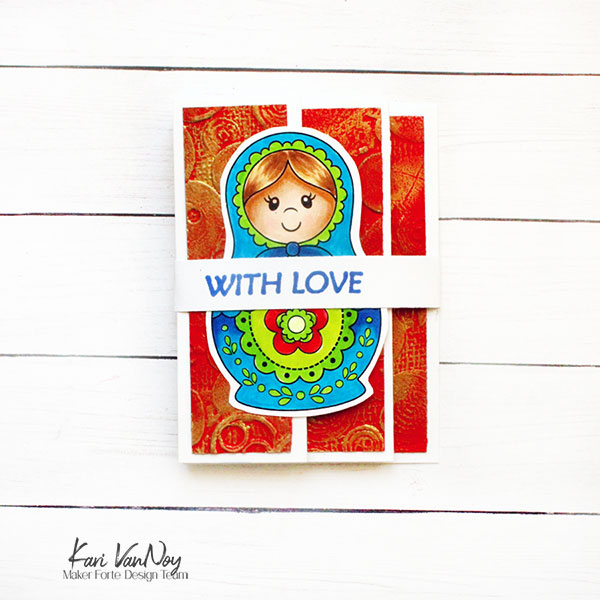
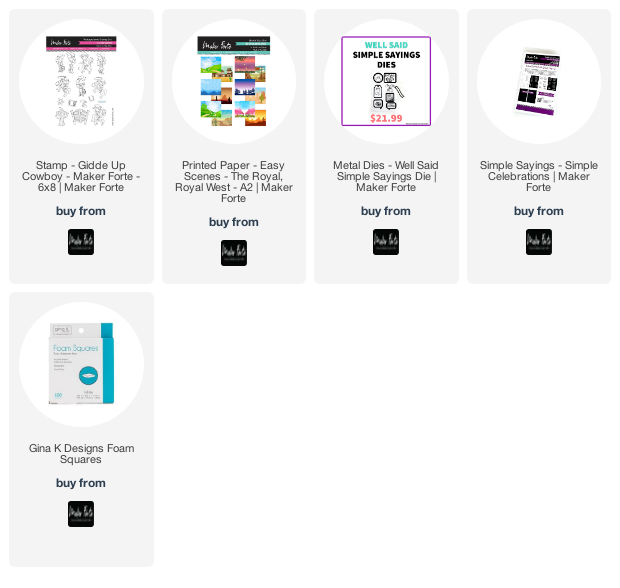
Hello! Today I have the easiest card that’s oh-so-cute! I am using the new set from Maker Forte called Giddy Up Cowboy. Here’s the best part: I used some pre-printed paper for the background! That’s right: the background was done for me!!
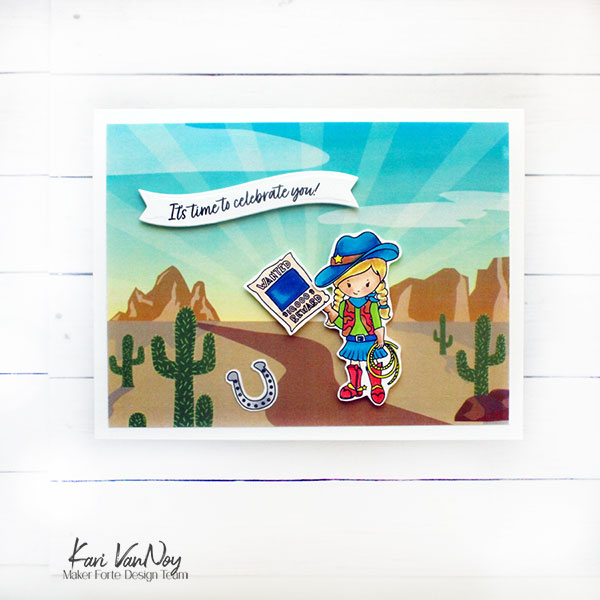
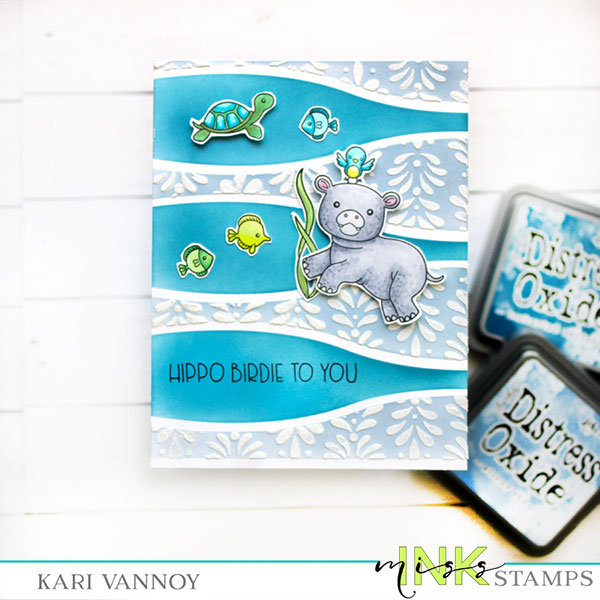
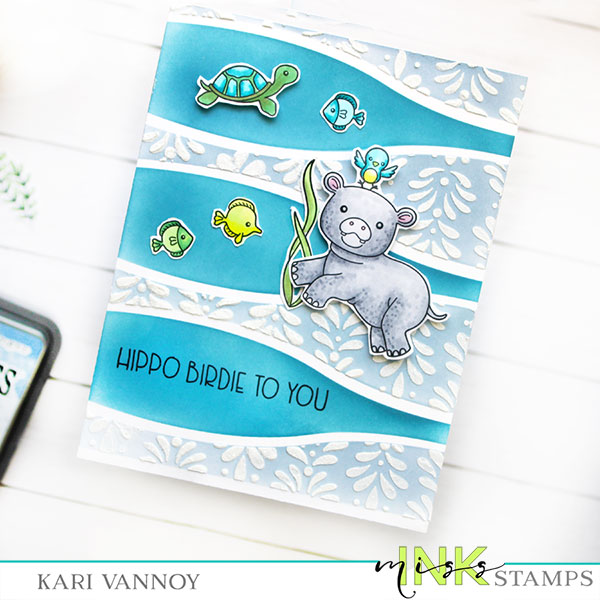
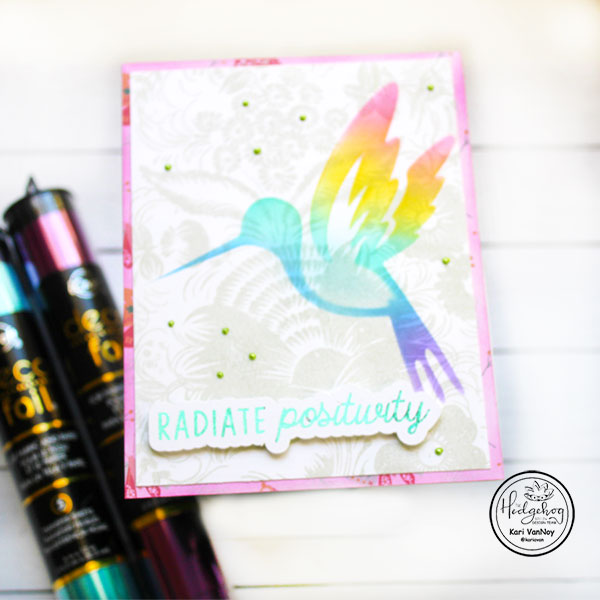
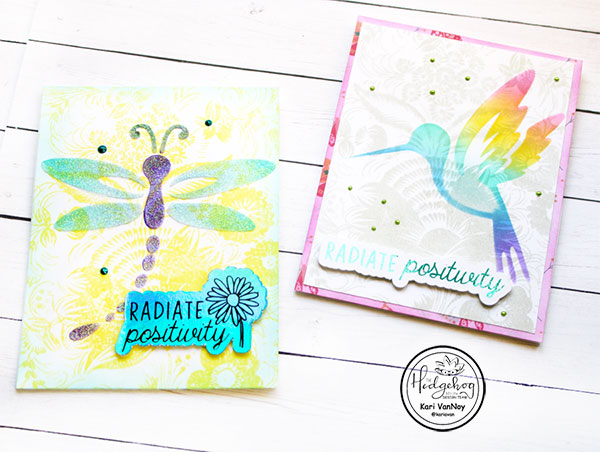
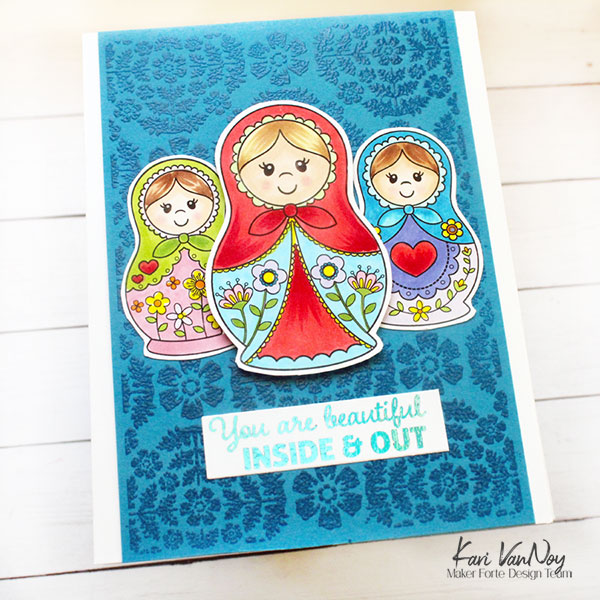
I love a great background, especially when it’s already done! And just look how cute it is. I cut the panel down so I would have a white frame around the background.
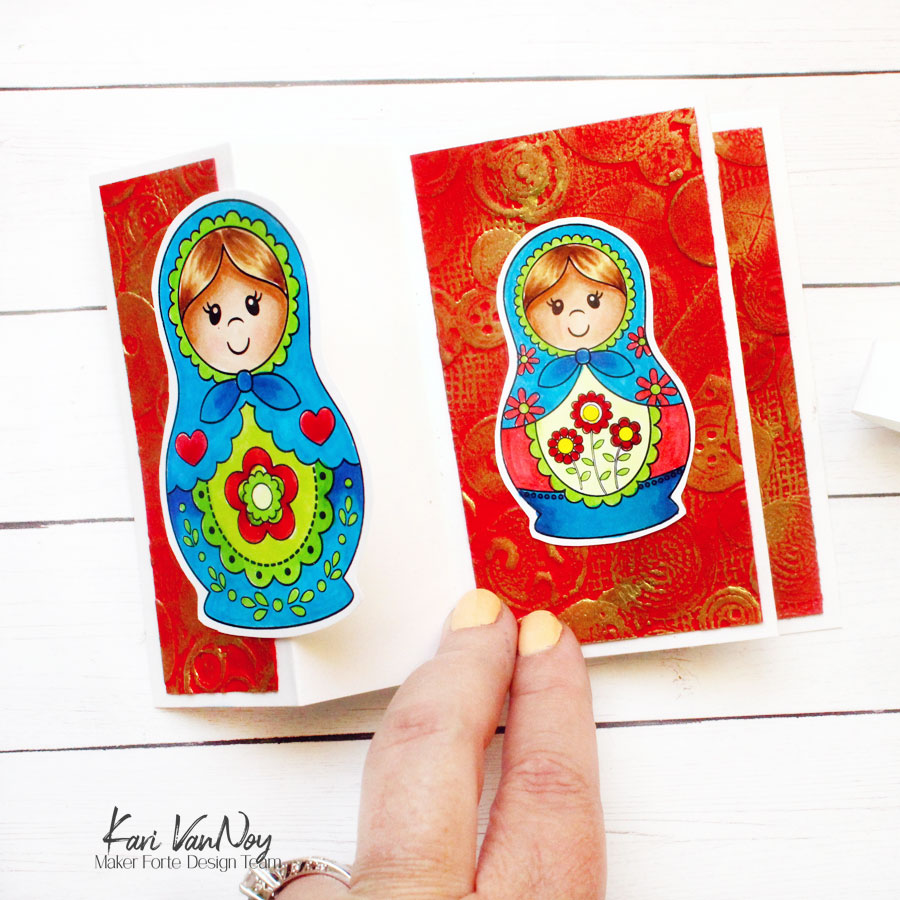
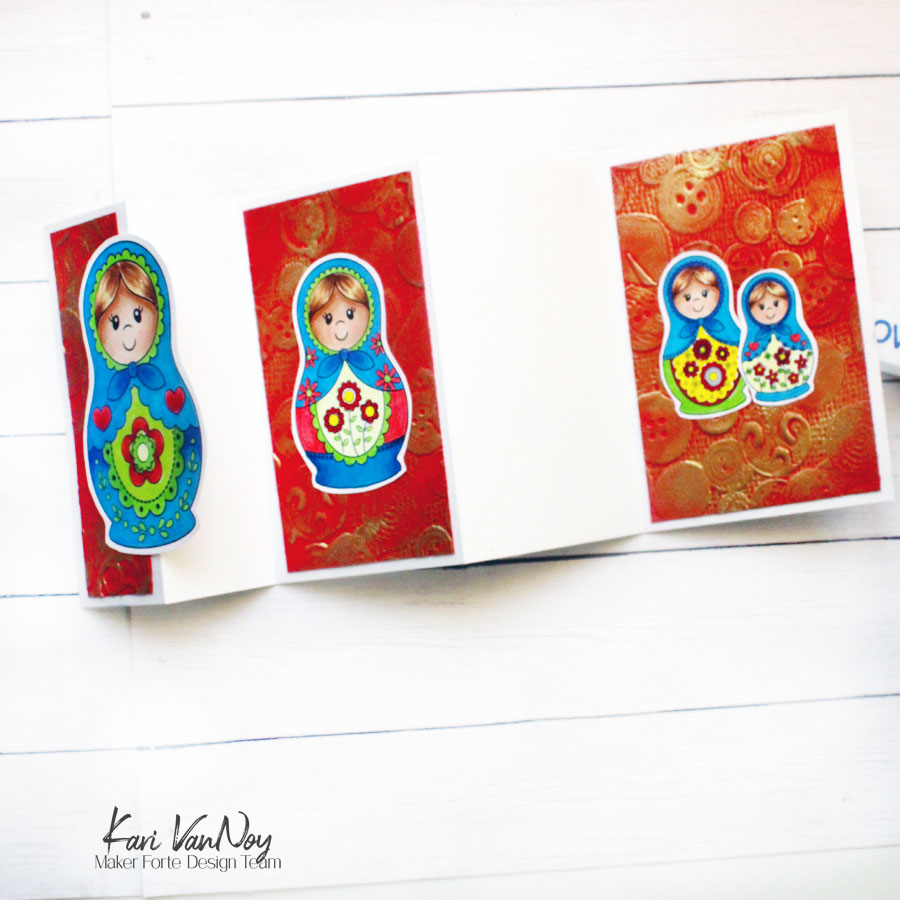
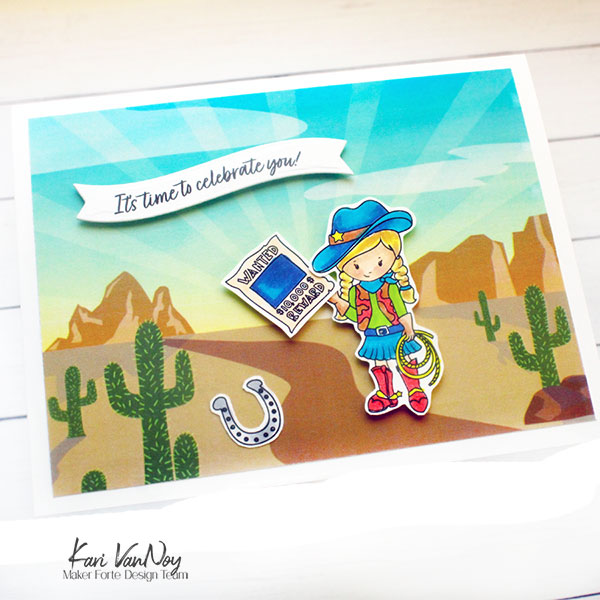
For this card, I stamped and colored a few of the images from the stamp set. I colored them up very simply with Copic markers (in keeping with the quick theme).
For the sentiment, I picked one from a simple sayings set and die cut it with the Simply Stated dies! Then I popped the sentiment and the images up with foam tape. VOILA! A completed card that was so so simple.
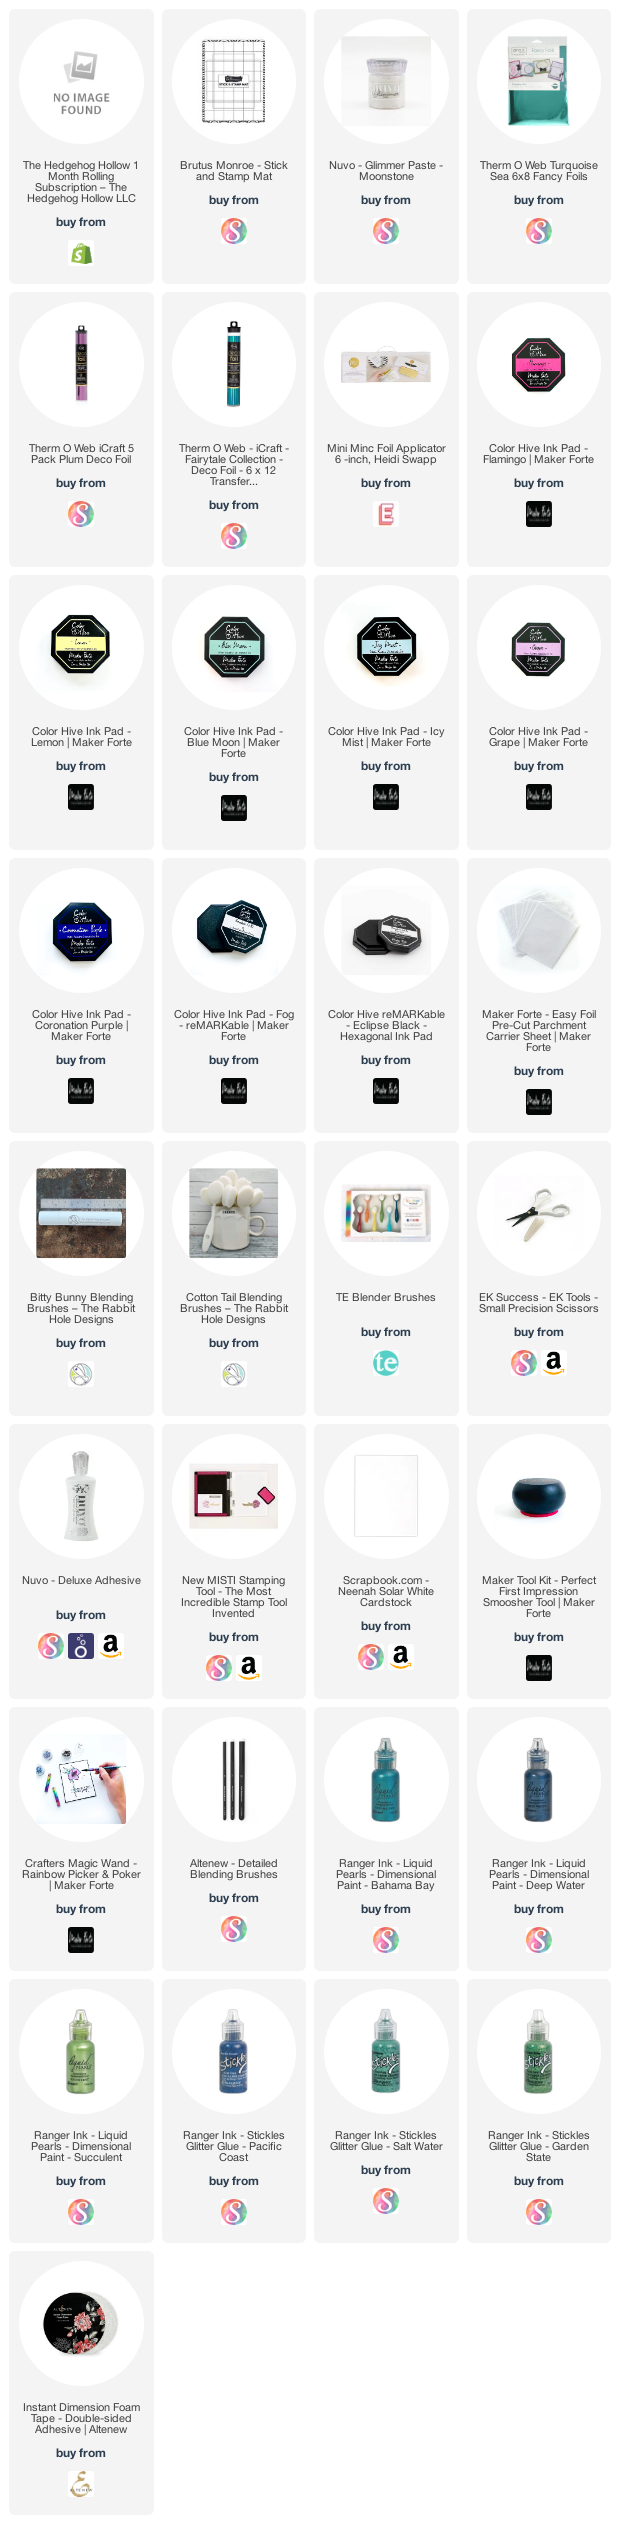
I’m often asked what supplies I use to make my cards and projects, so I’ve put together a list using affiliate links when possible. If you make a purchase with these links I may receive a small commission. These help me to keep up with blog costs and continue bringing you fun projects. Thank you so much for your support!

I hope you enjoyed this project today! Thanks for stopping by!