Archive | February, 2015
day-6-tri-fold-card-3

OCC day 6 — Tri-fold Card

Julie Ebersole gave a great class at Clean and Simple 4! She made a tri-fold card with a balloon die cut. I wanted to use this idea for my own kind of Valentine card.

day-6-tri-fold-card


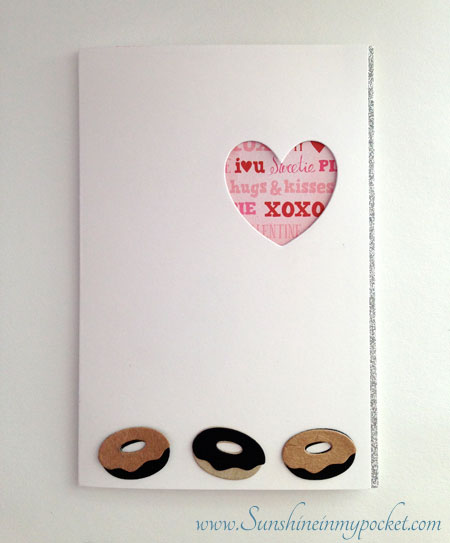
This is the front… I HAD to add some donuts (I think my hubby might prefer this one over the kitty card! ha, ha!)

day-6-tri-fold-card-2


day-6-tri-fold-card-3


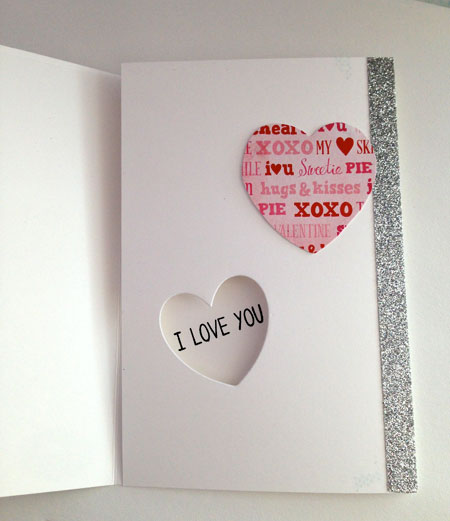
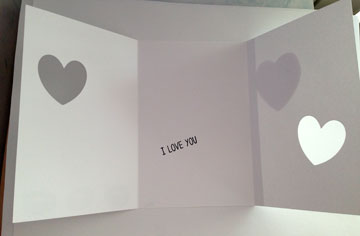
I’ve been playing around with the idea of adding another phrase inside under “I love you” to say: “More than donuts!” Ha, ha! Ok, I did have some fun with this one. It might need something more, but I sure love the idea. I’ll keep experimenting with things to add to this card. Great class!!

Comments { 0 }
day-5-ink-patterns

OCC day 5 — ink patterns

I’m back with another card inspired by Online Card Classes Clean and Simple 4. Today it’s an Ink Pattern created with some washi tape and distress inks. I used a simple pattern for this one, since my sentiment is so large. Those white areas are where the washi was protecting the paper while I had some fun at inking!

day-5-ink-patterns


It’s a little hard to tell by this picture, but I clear embossed the sentiment so it’s beautiful and shiny in real life! I die cut another sentiment in black to use as the “shadow” behind it. Fun.

This isn’t my normal style of card, but it’s great to be inspired to create in a different way!

Comments { 0 }
day-4-faux-embossing

OCC day 4 — Faux Embossing

This faux embossing technique is really beautiful. The idea is, to die cut the words/images in the same color as your card base so it looks like it could be embossing. I love the look.

day-4-faux-embossing


Another great day at Online Card Classes Clean and Simple 4. Can’t wait for tomorrow!

Comments { 0 }
day-3-inked-backgrounds-layered-inking

OCC day 3 — Layered Inking

This may very well be my FAVORITE technique so far in Online Card Classes Clean & Simple 4!! Jennifer McGuire always knocks it out of the park!

This is an awesome and new-to-me technique called Layered Inking. She inked the background with Hero Arts ink (or Wplus9 or Simon Says Stamp) and then stamped over it with versamark ink. The Versamark stamps clear at first, but then it has a reaction with the ink and after it dries, the impression is beautiful! Here’s my example:

day-3-inked-backgrounds-layered-inking

Since I only have ONE color of hero arts ink (Butterbar), that was the color I used for my background! Then I stamped over it in the clear ink and LOOK at that! Awesome.

I love that little panda set from Mama Elephant. Makes me smile everytime!

Comments { 0 }
day-2-border-gap-die-cutting

OCC day 2 — border die cutting

Today was another great day of instruction all about die cutting over at Online Card Classes Clean and Simple 4. I was intrigued by Kristina Werner’s Border Gap Die-Cutting method and so this was the one I chose to try out.

I have to admit, when I was making this card it sort of morphed into it’s own design (these things sometimes take on a mind of their own!) But I do like how these cute kitties turned out. I used the new heart die cut from Mama Elephant.

day-2-border-gap-die-cutting

I inked behind the heart die with distress ink in Picked Raspberry. Those little kitties were colored with Prismacolor pencils (these pencils are so great! Got them for Christmas from my hubby!) Since he’s NOT a cat person, I don’t think this card will be going to him, though! 🙂

Comments { 0 }